Create and Edit Maps
Maps in Lastmiler are used to define areas of interest. You can manage both maps and folders to suit your operational needs.
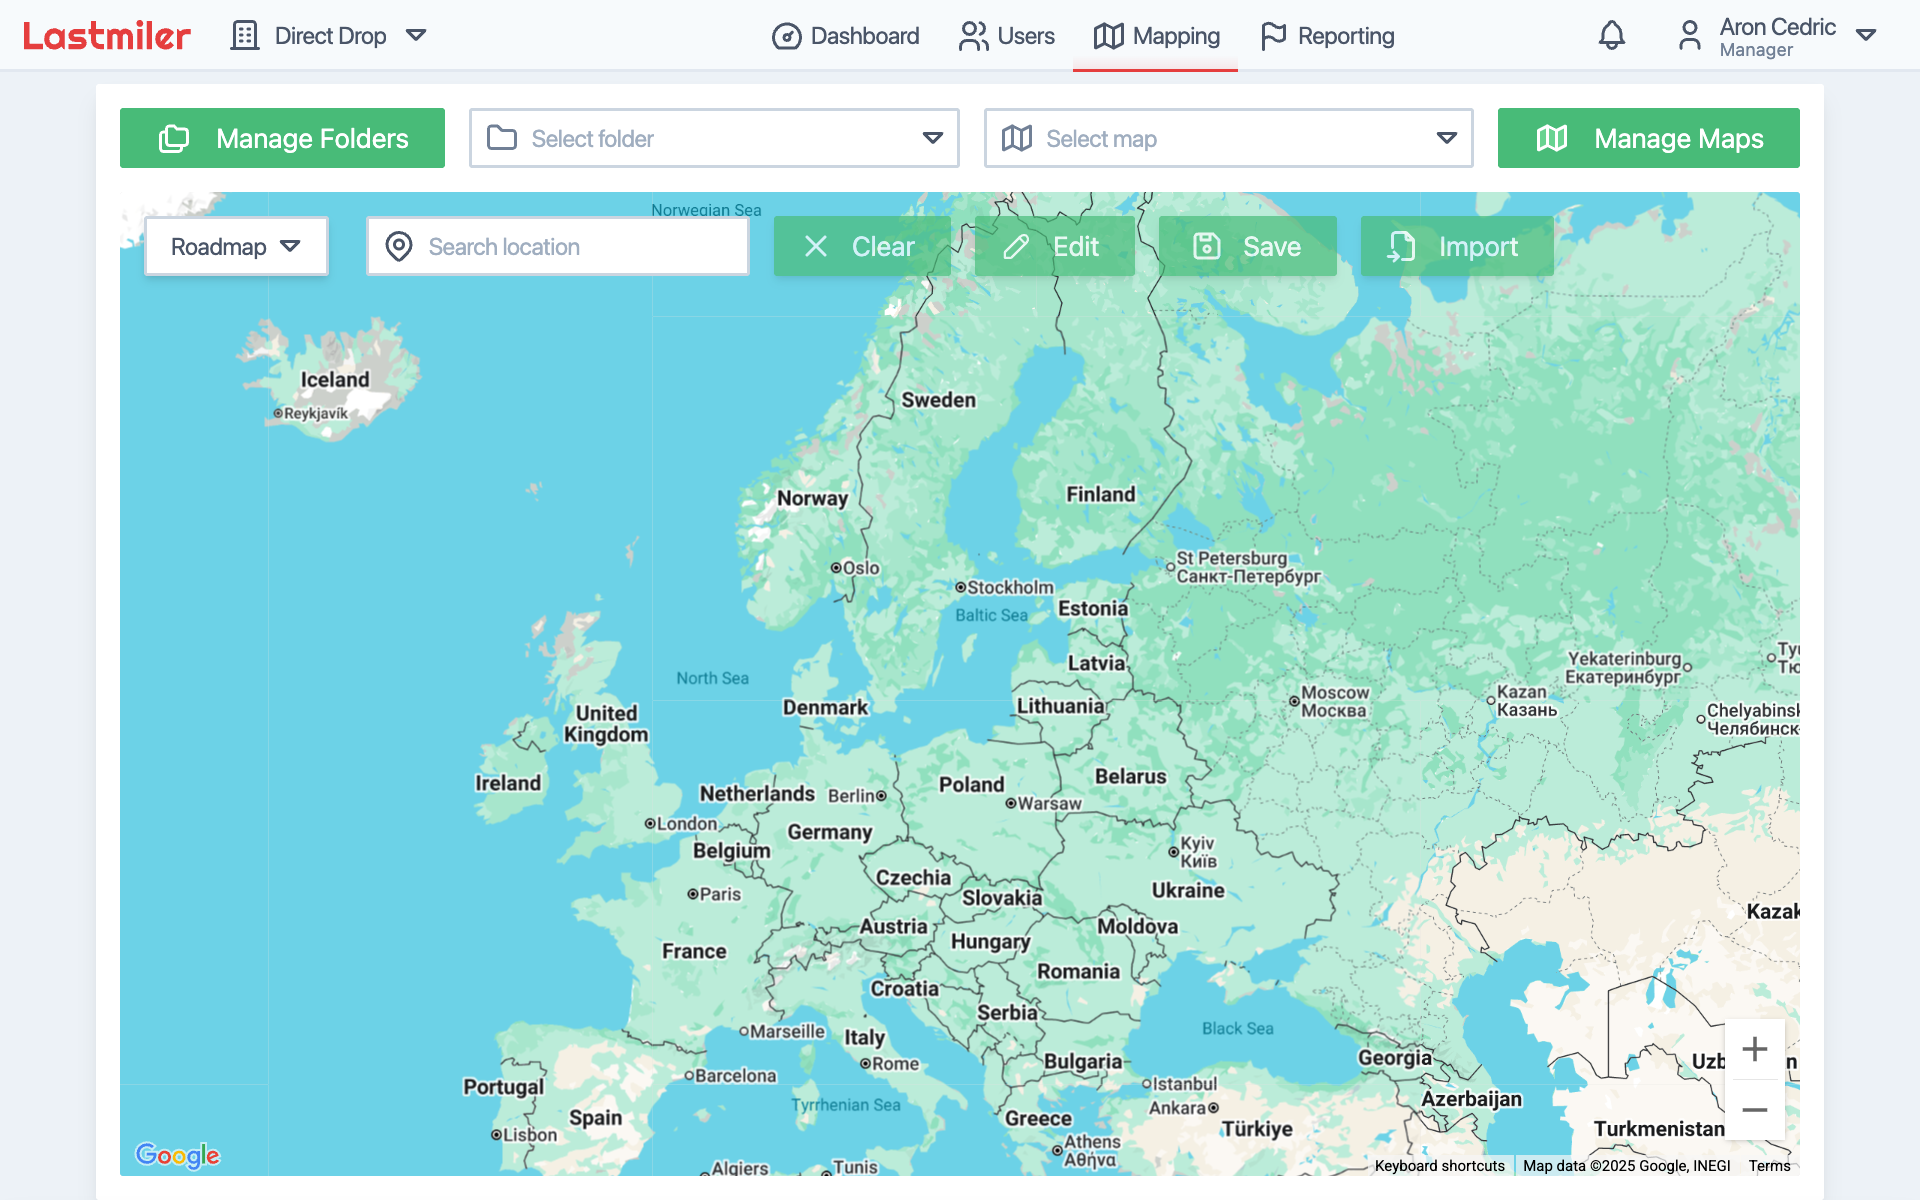
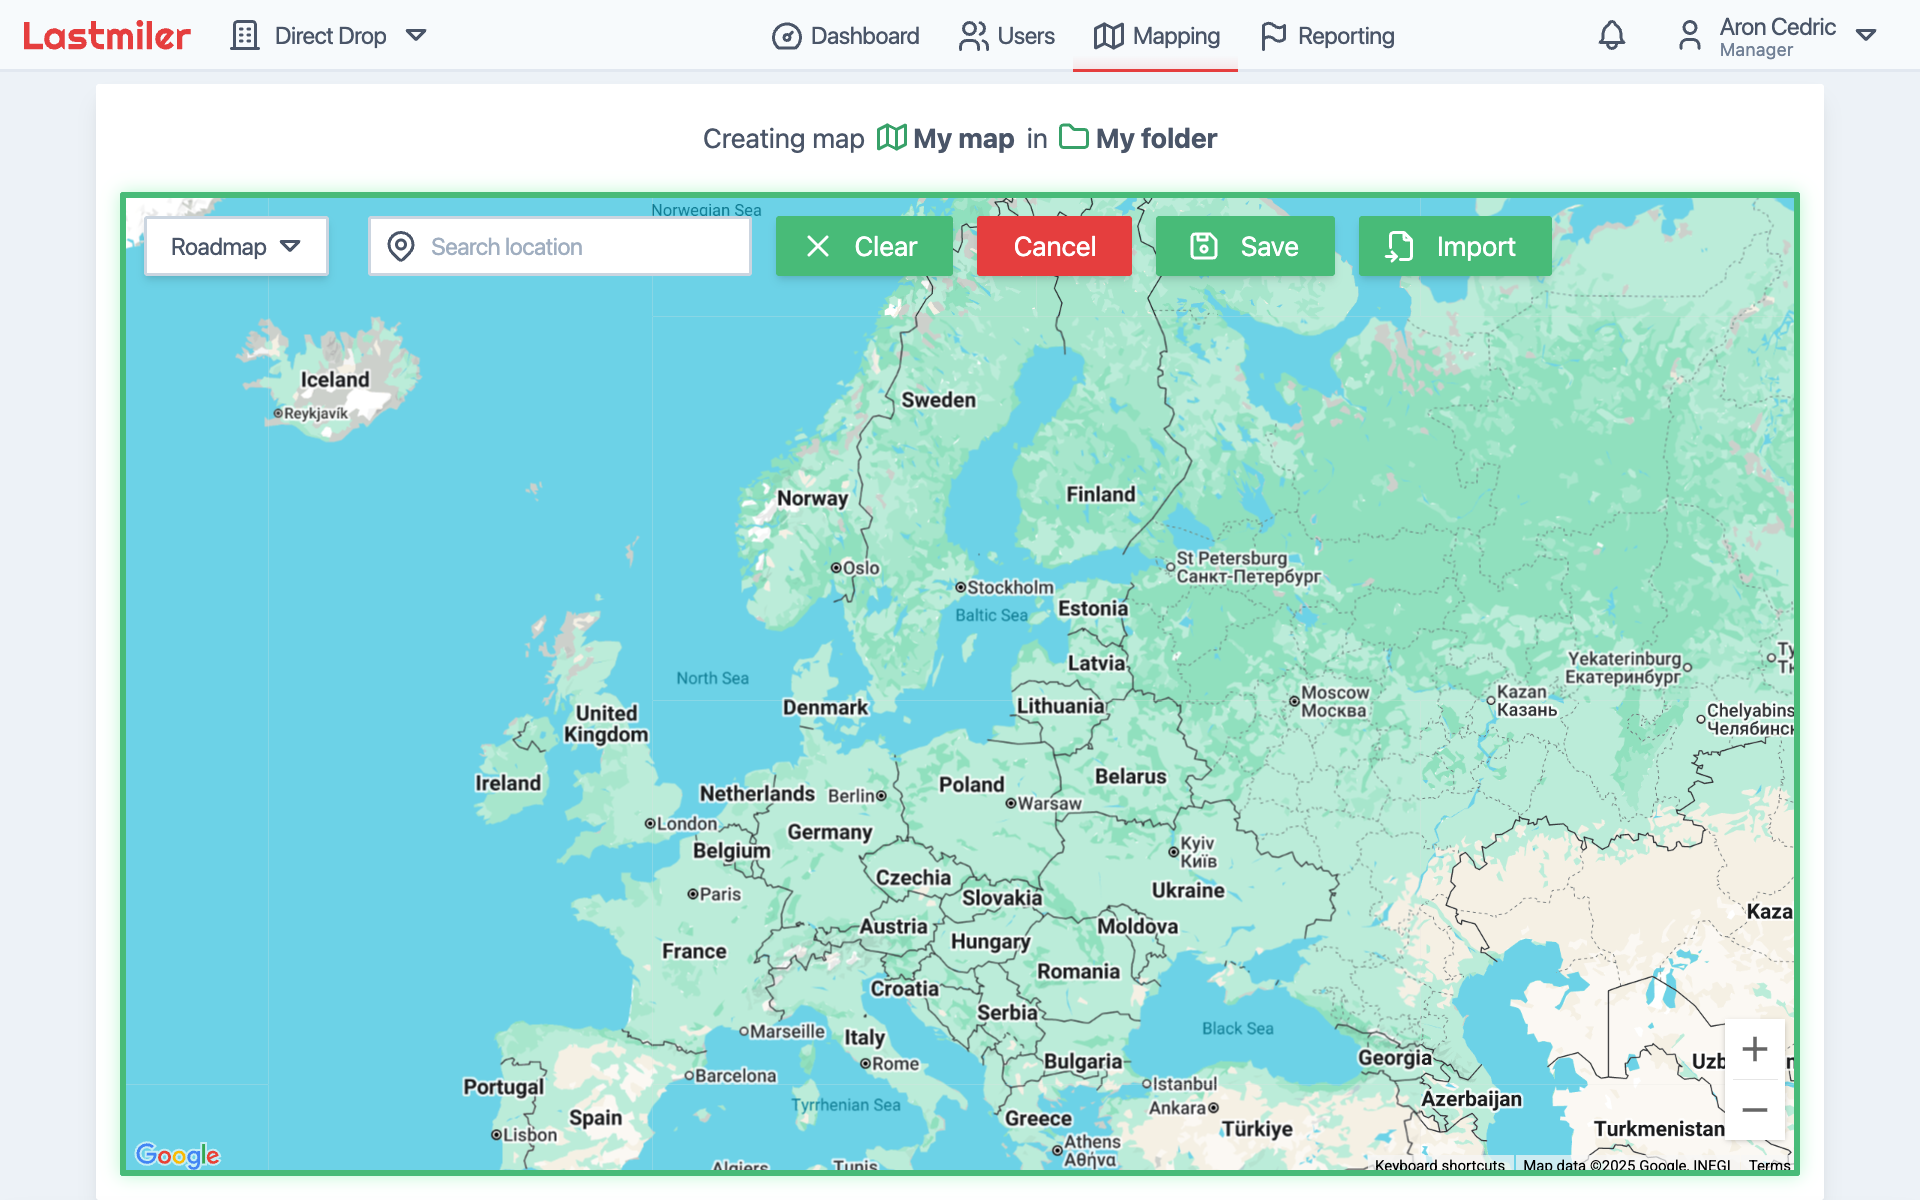
Accessing the Mapping Feature
After logging in to Lastmiler, click "Mapping" in the top navigation bar.
Managing Folders
Before you can create maps, you must first create folders. Folders help group maps by area, type, or any other criteria relevant to your work.
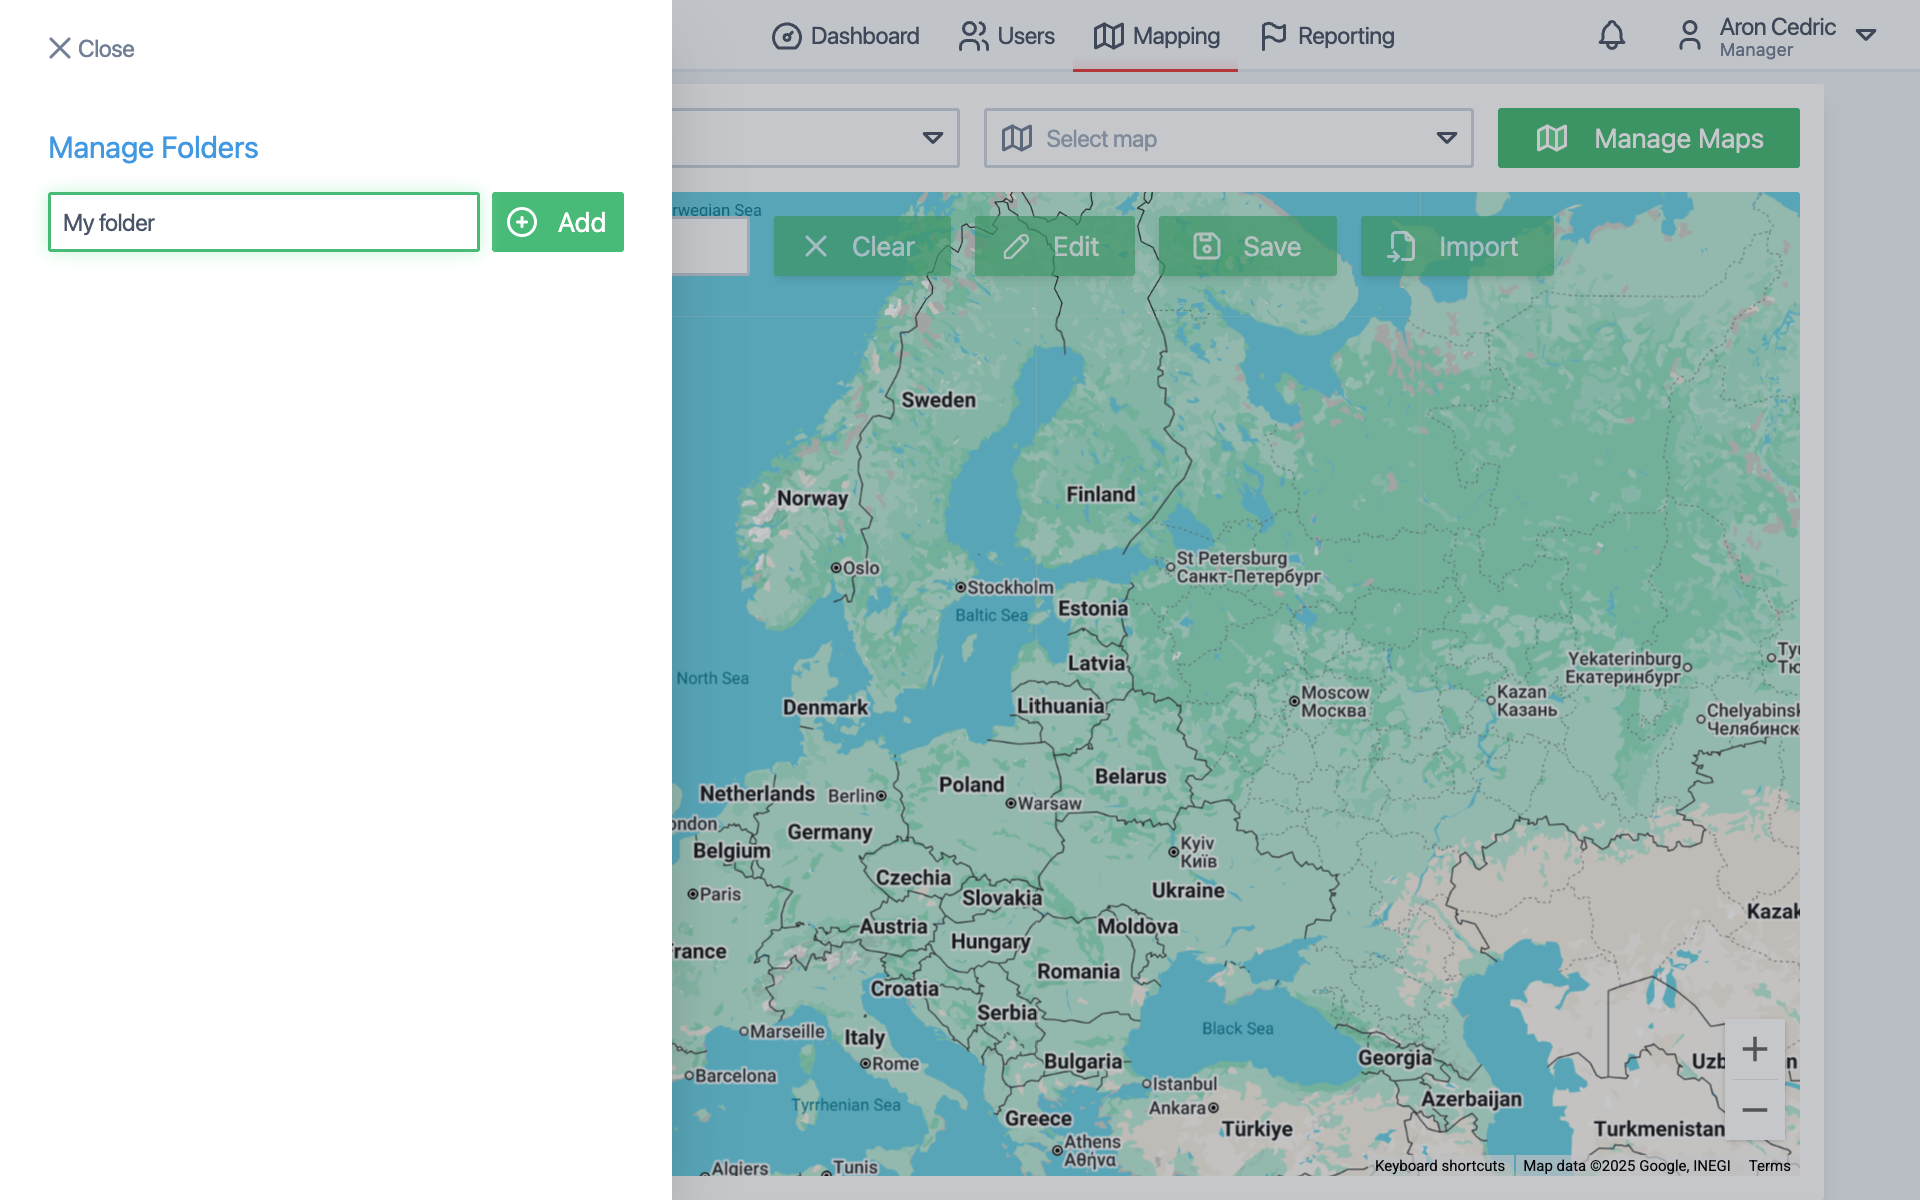
To manage folders, click the "Manage Folder" button in the top left corner. This opens a side panel where you can create, rename, and delete folders. To close the panel, click the "Close" button in the top left of the side panel.
Creating a New Folder
- In the "Manage Folders" side panel, enter a name in the input field.
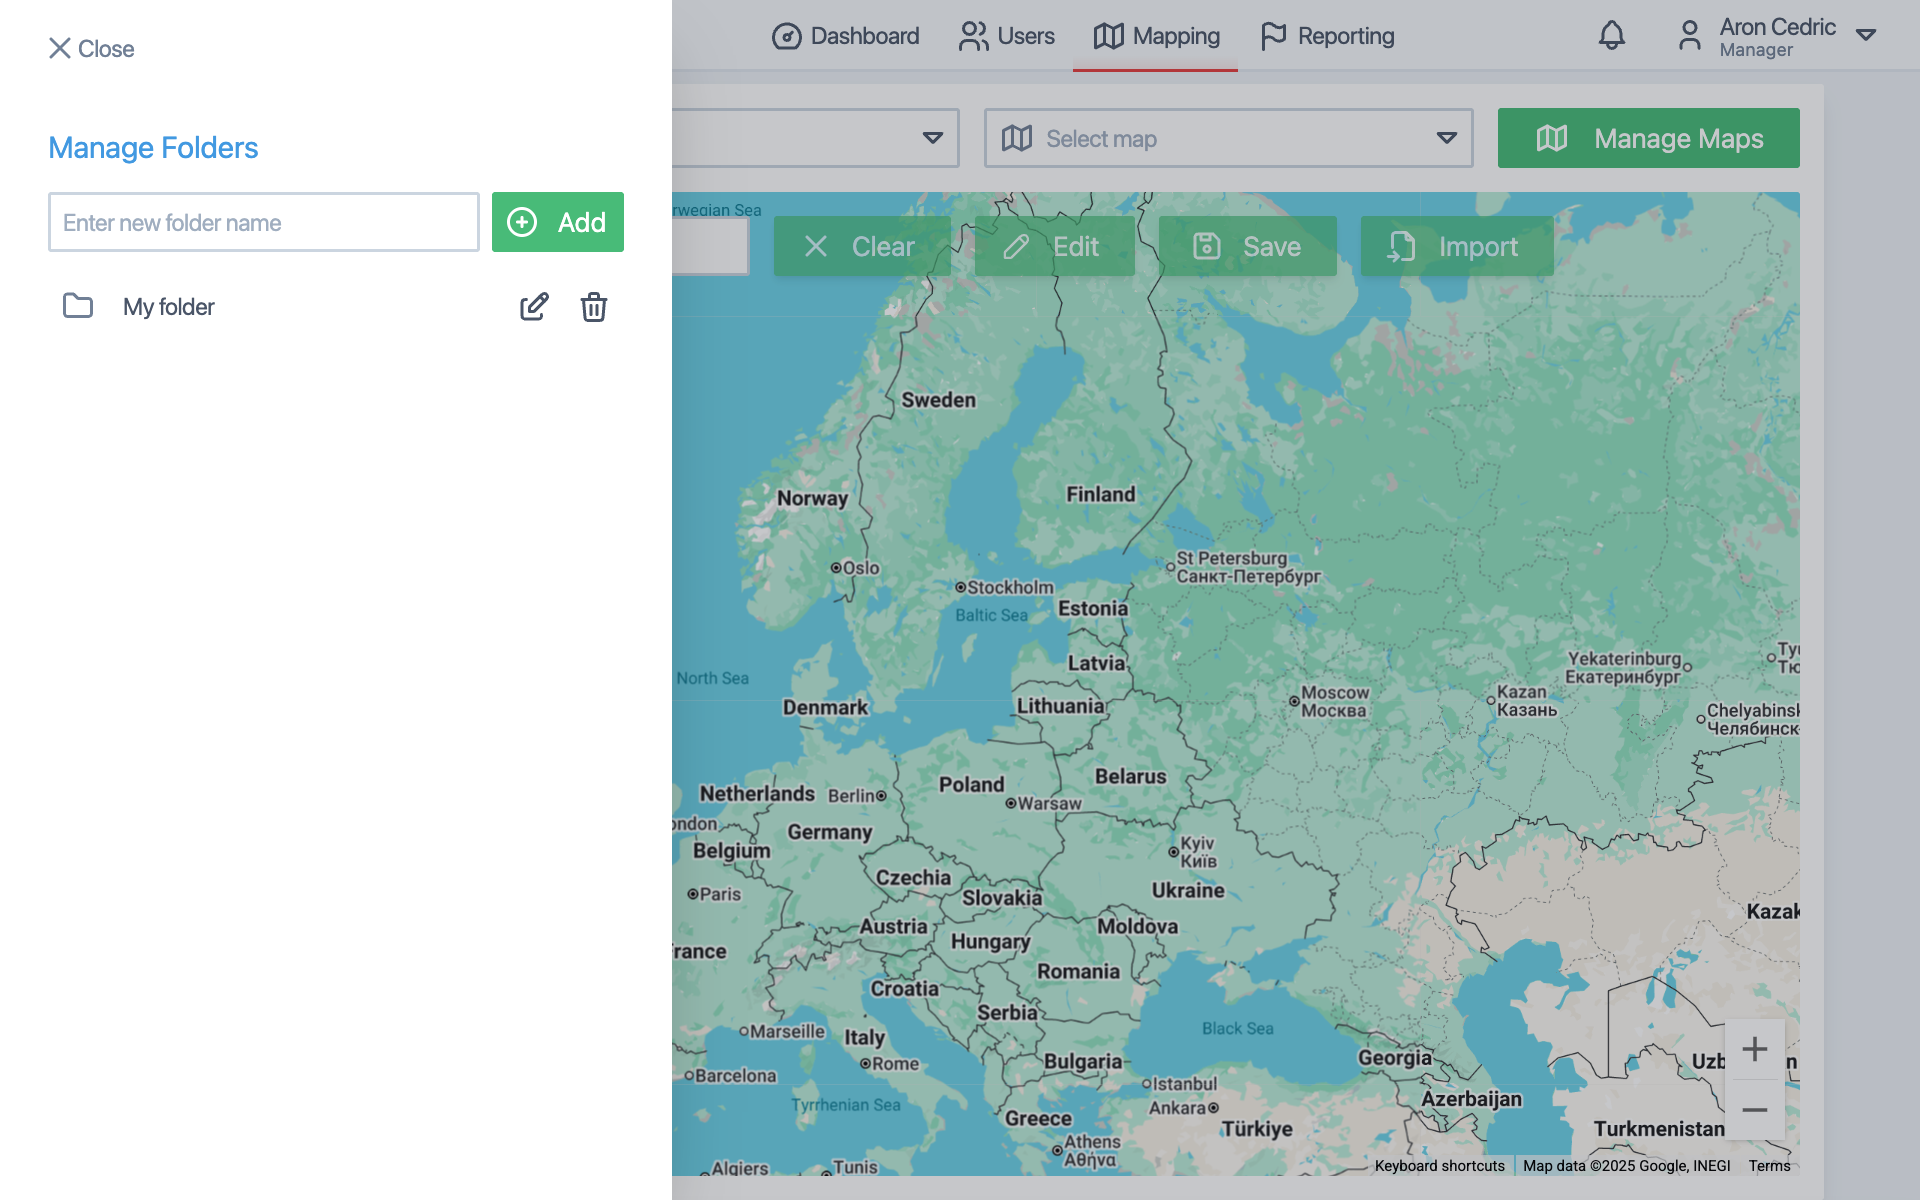
- Click the "Add" button. The new folder will appear in the list.
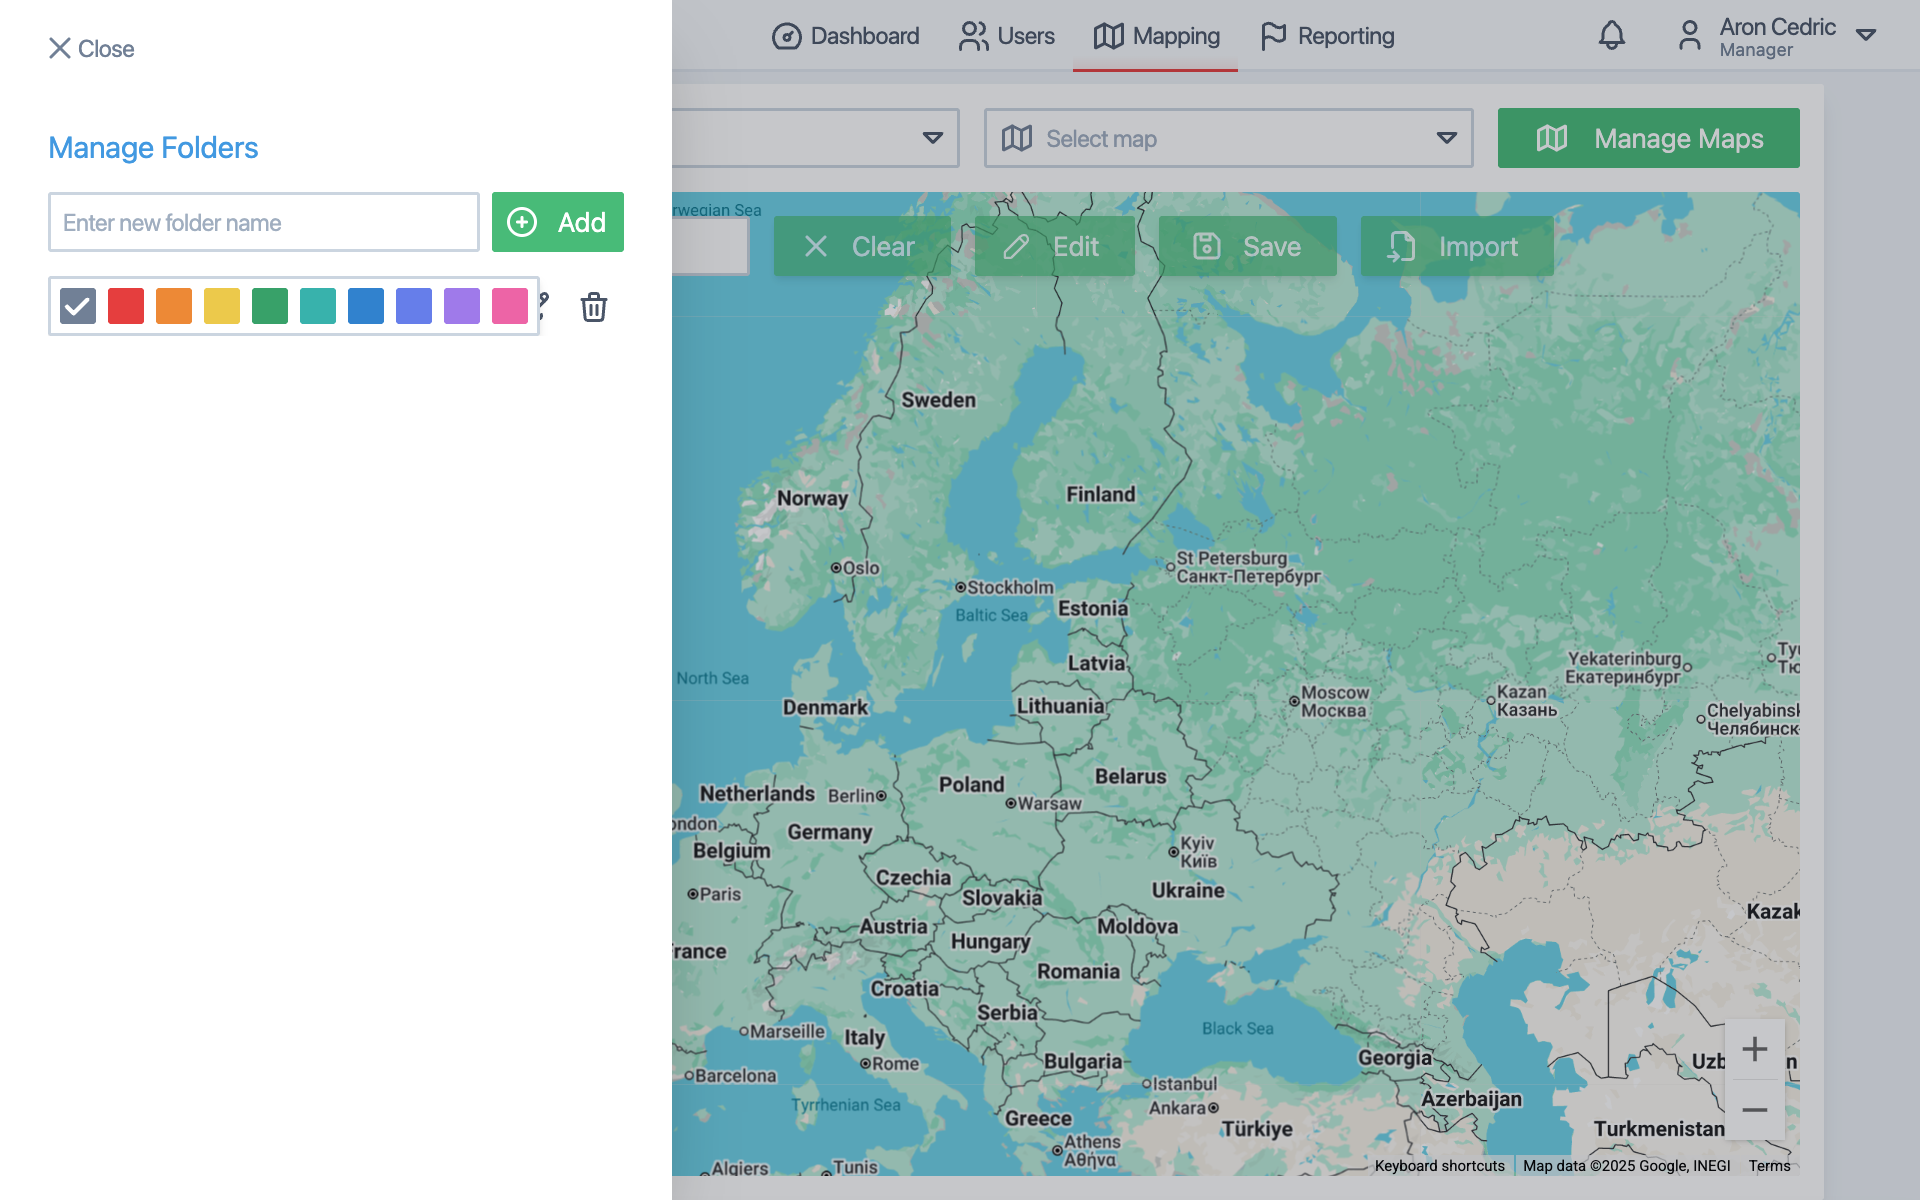
Change Folder Color
To help visually distinguish between folders:
- Click the folder icon next to the folder name to open the color picker.
- Select a color from the palette to apply it to the folder.
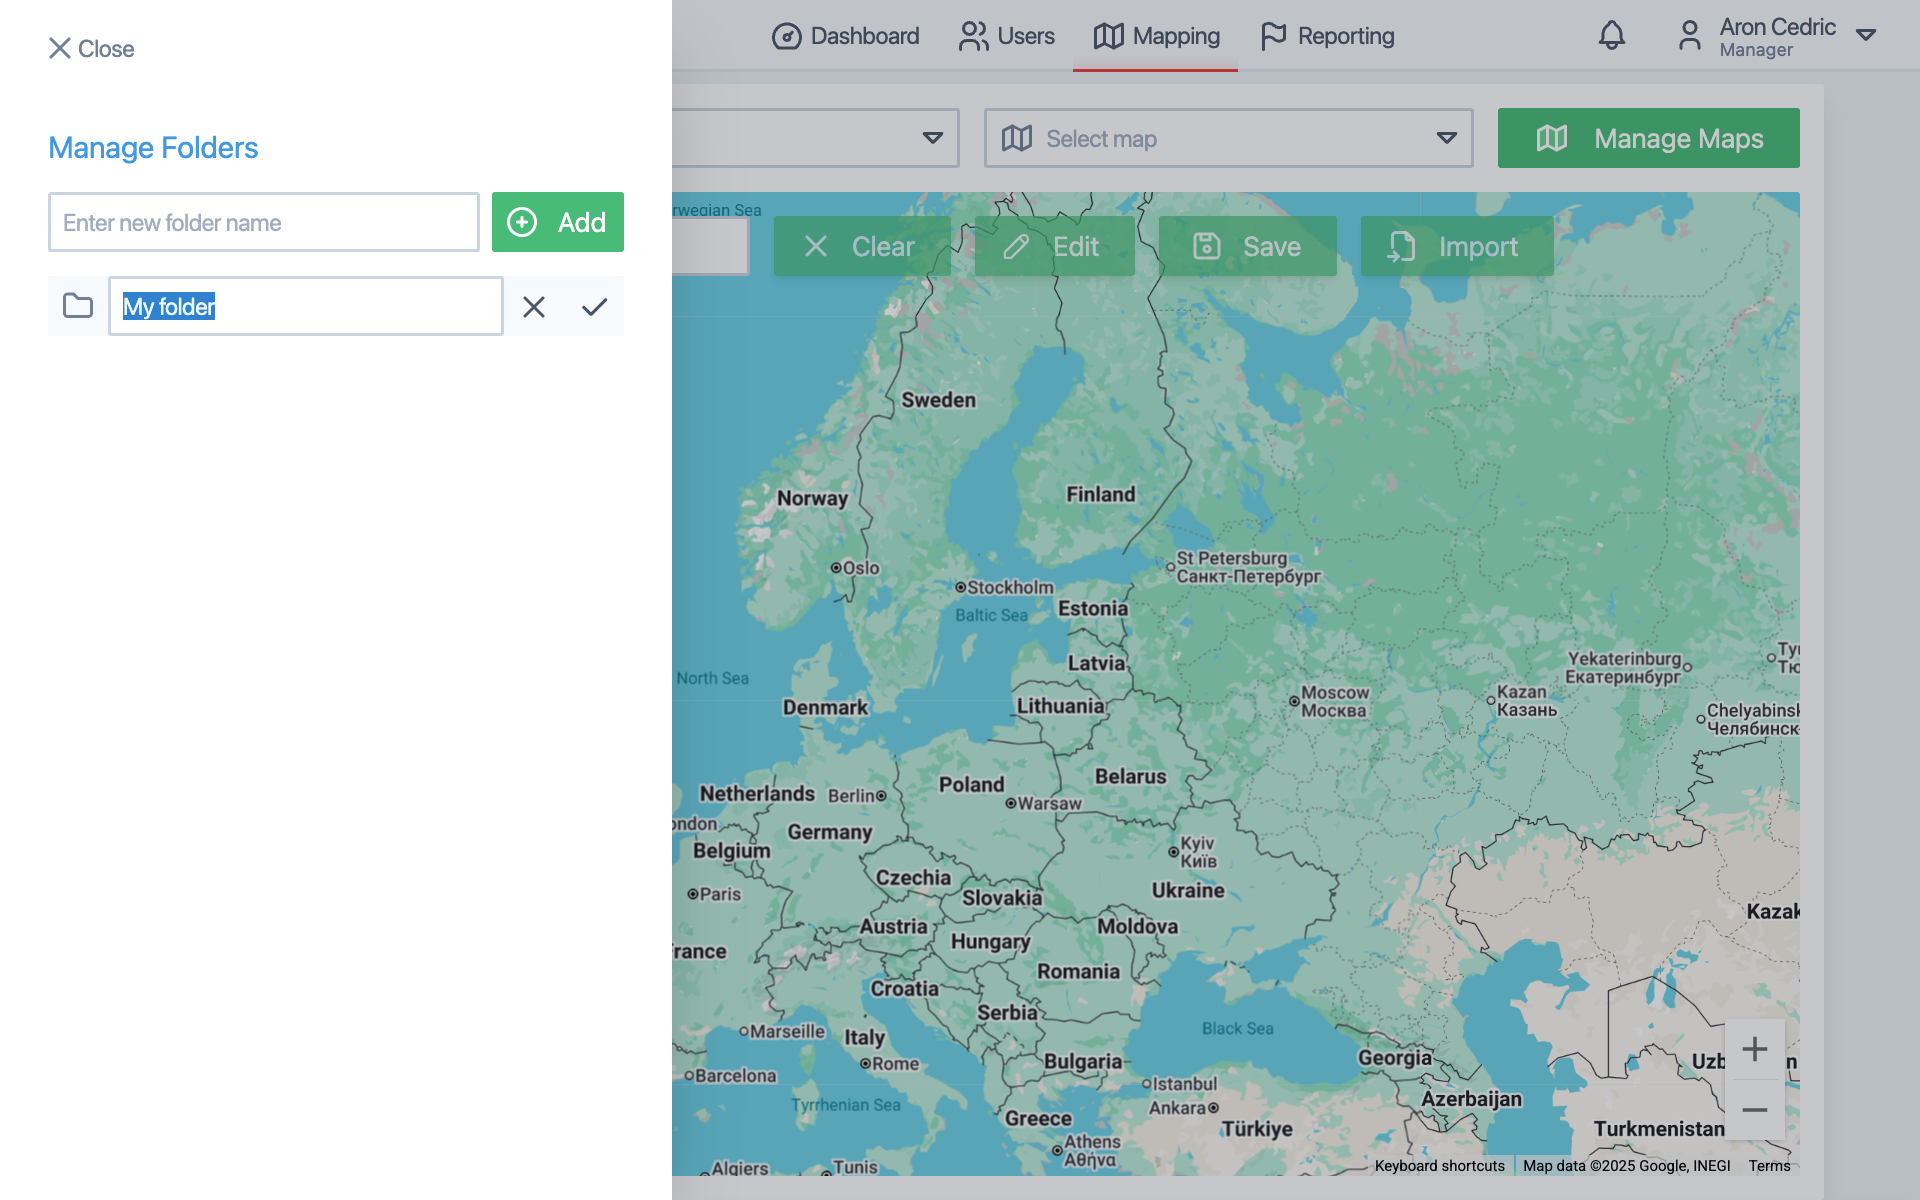
Renaming Folders
To rename a folder:
- Click the folder name or the edit icon next to it.
- Type the new name into the input field that appears.
- Click the checkmark icon to save the change, or click the cross icon to cancel.
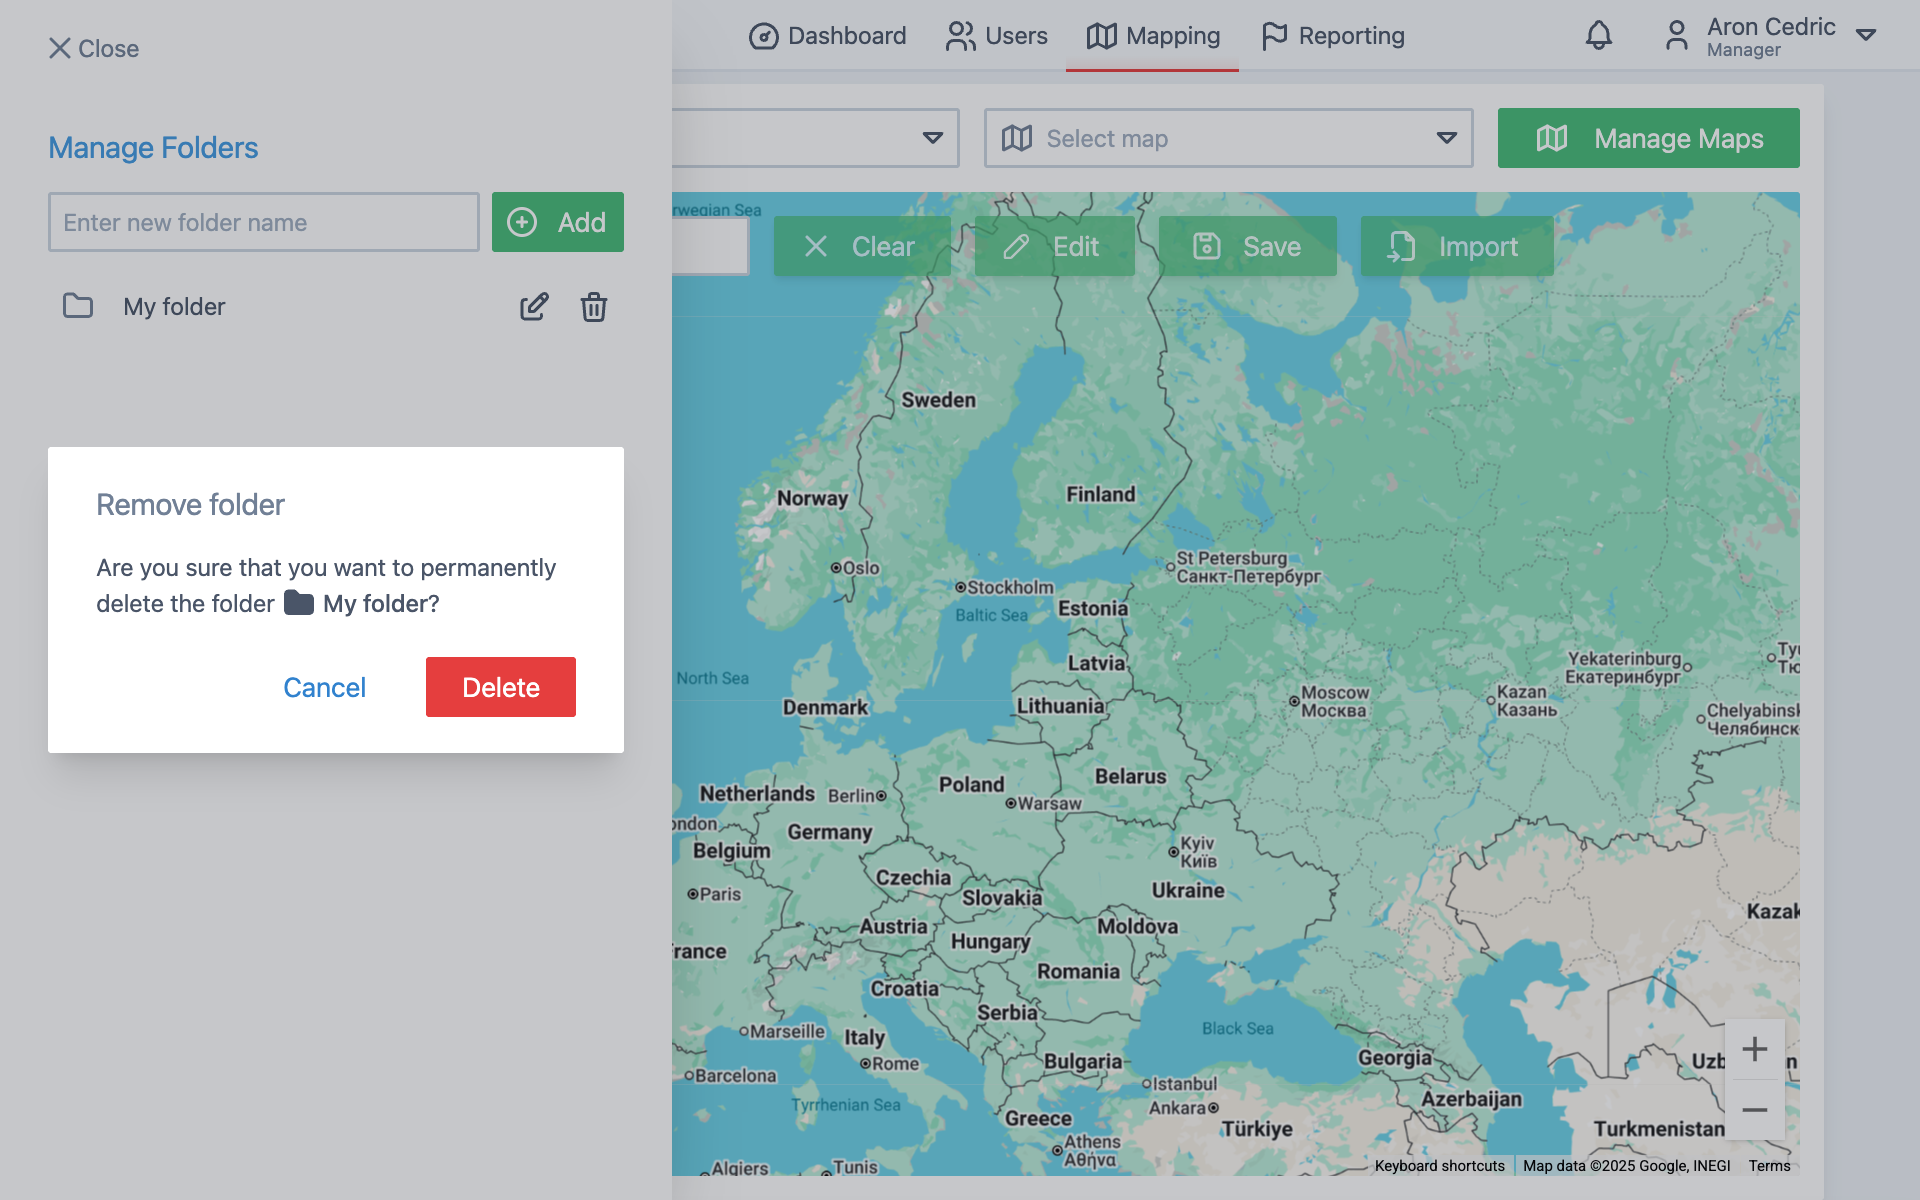
Deleting Folders
To delete a folder:
- Click the trash bin icon next to the folder name.
- A confirmation dialog will appear.
- Click "Delete" to confirm or "Cancel" to abort.
Managing Maps
Once a folder has been created and the "Manage Folder" side panel is closed, you can begin adding maps to it. Maps are used to define zones such as delivery areas, service regions, or other relevant boundaries.
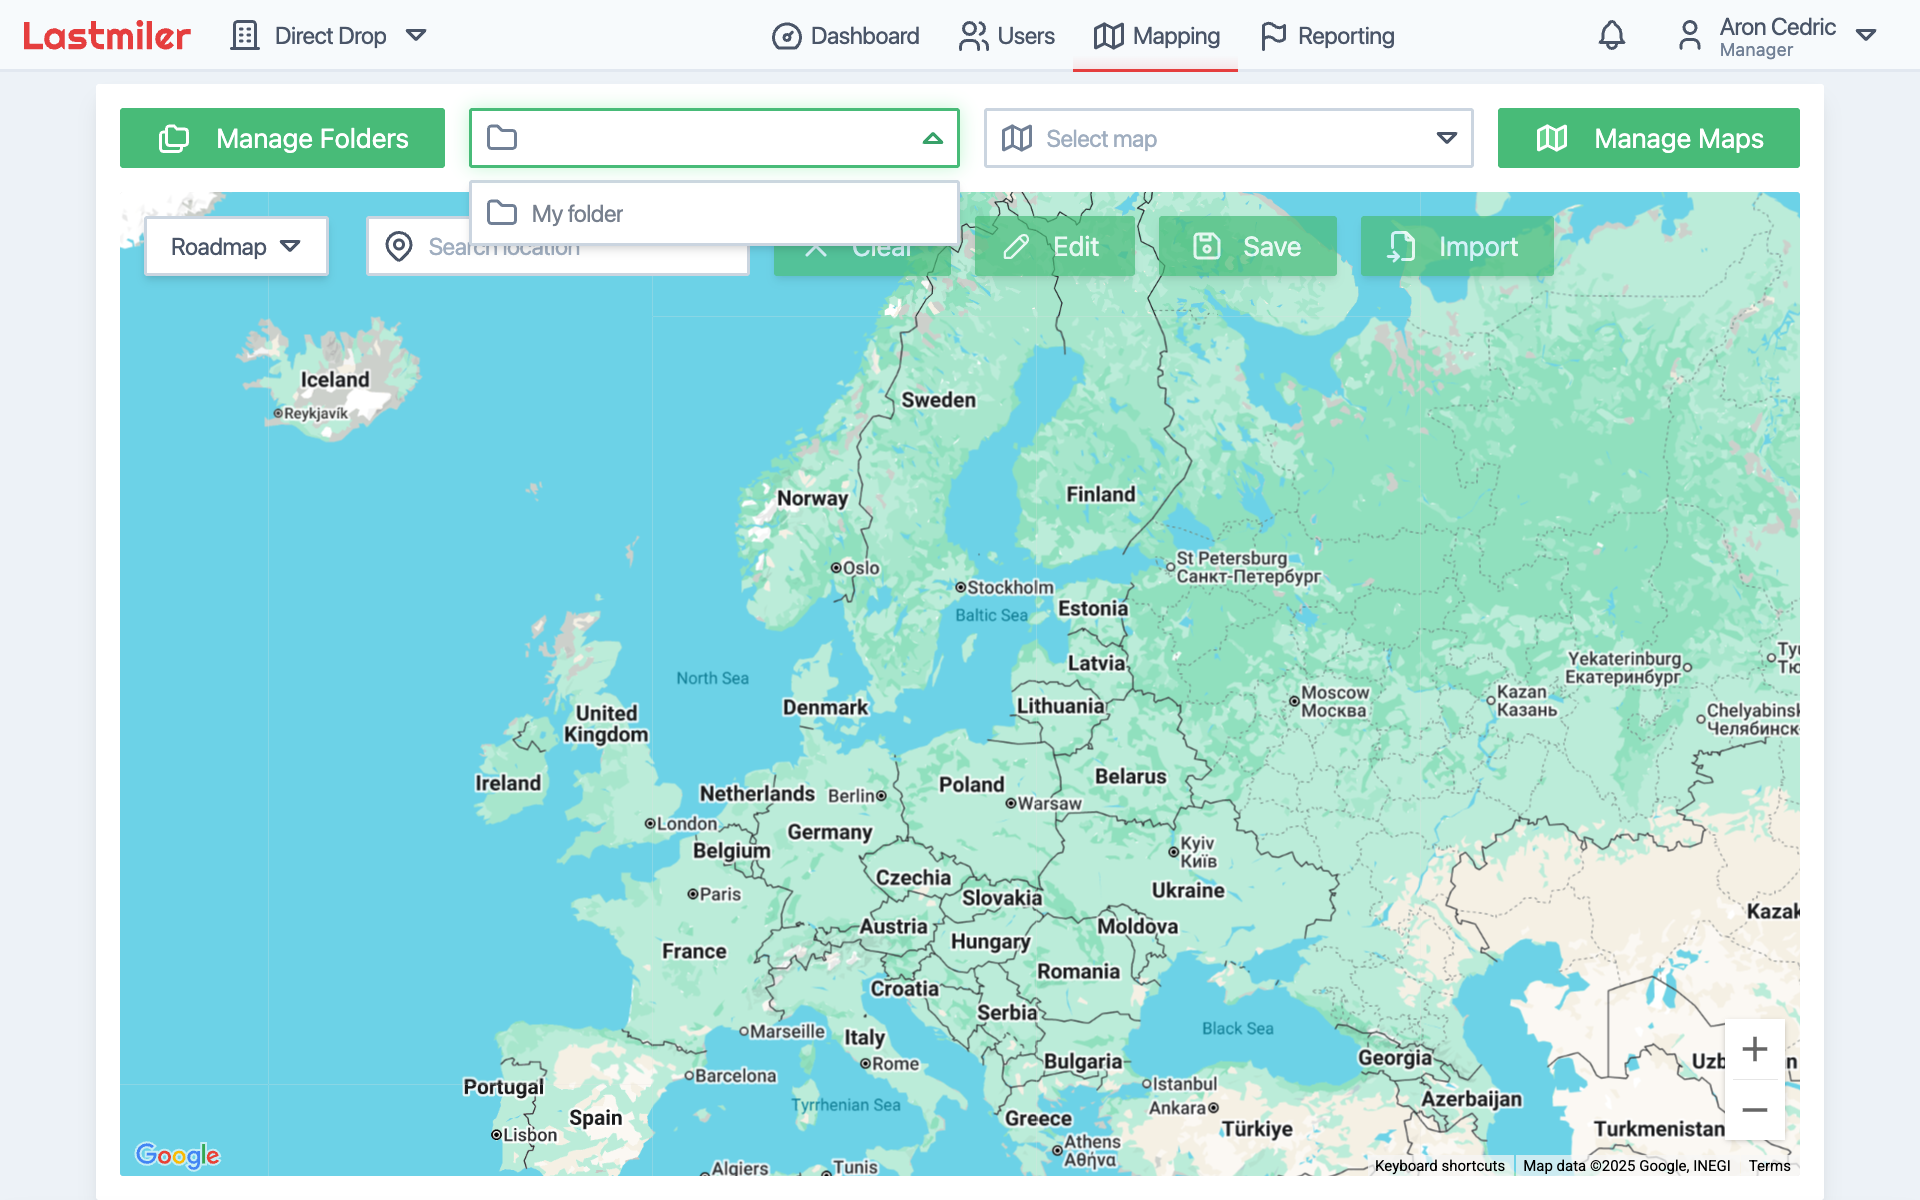
Creating a New Map
To begin:
- Use the dropdown next to the "Manage Folder" button to select a folder.
- Click the "Manage Maps" button in the upper right corner to open the map management panel.
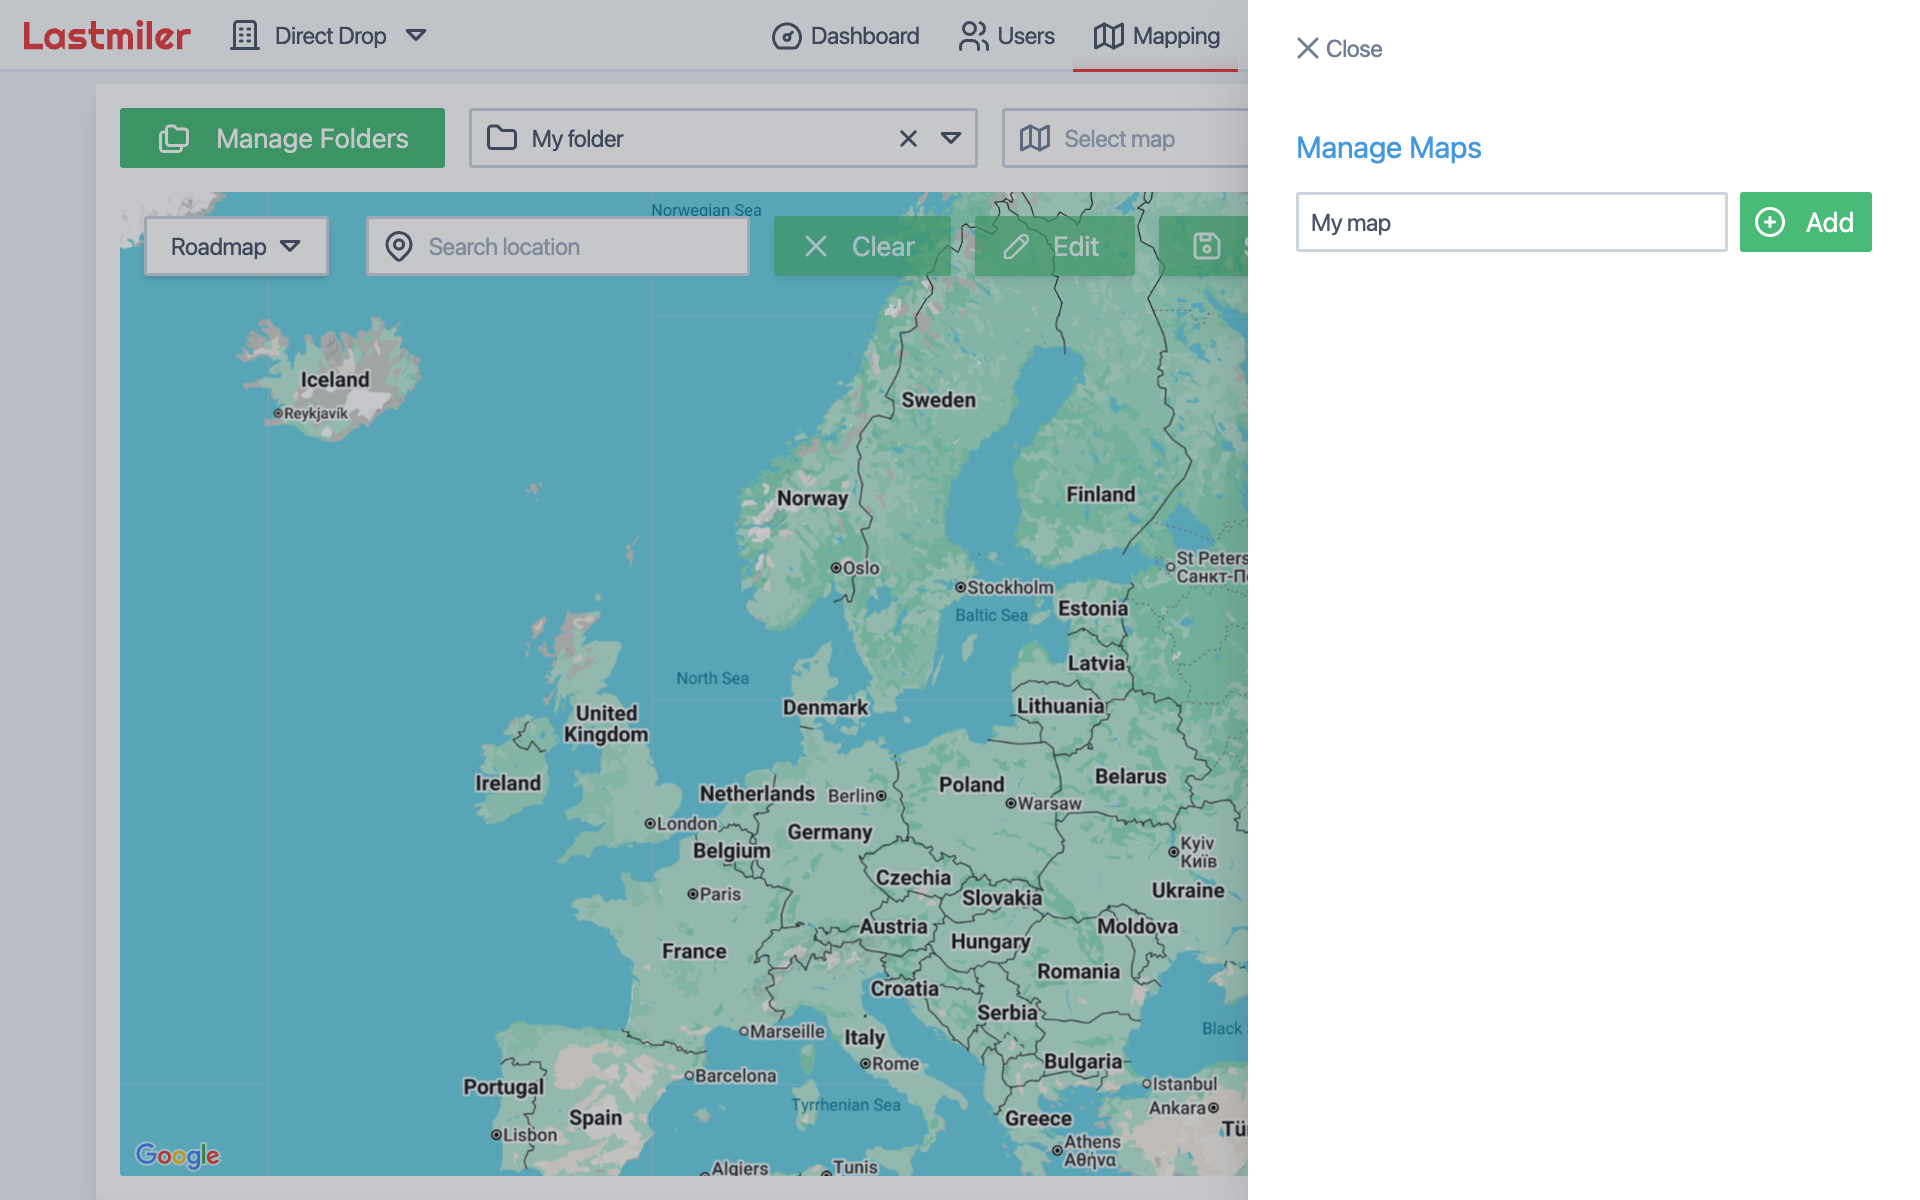
To create a map:
- Enter a name in the input field.
- Click "Add". The panel will close and you can begin drawing the map.
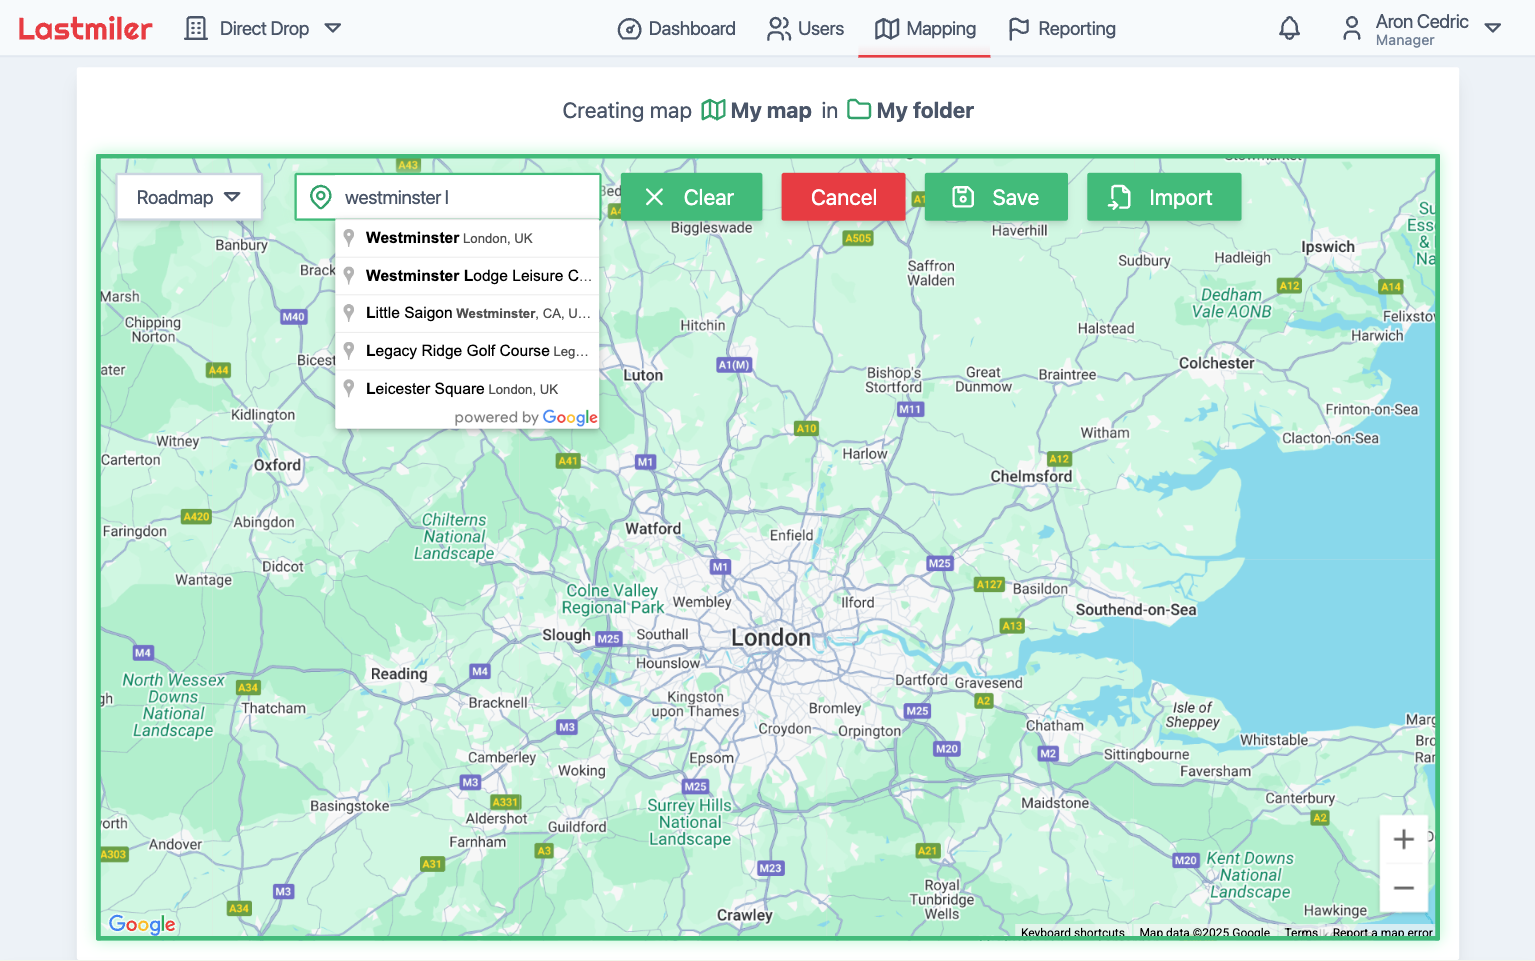
Searching for a Location
To help locate your area of interest:
- Click the "Search location" field at the top of the map.
- Enter a place name, such as a street or city.
- Select a result from the suggestions.
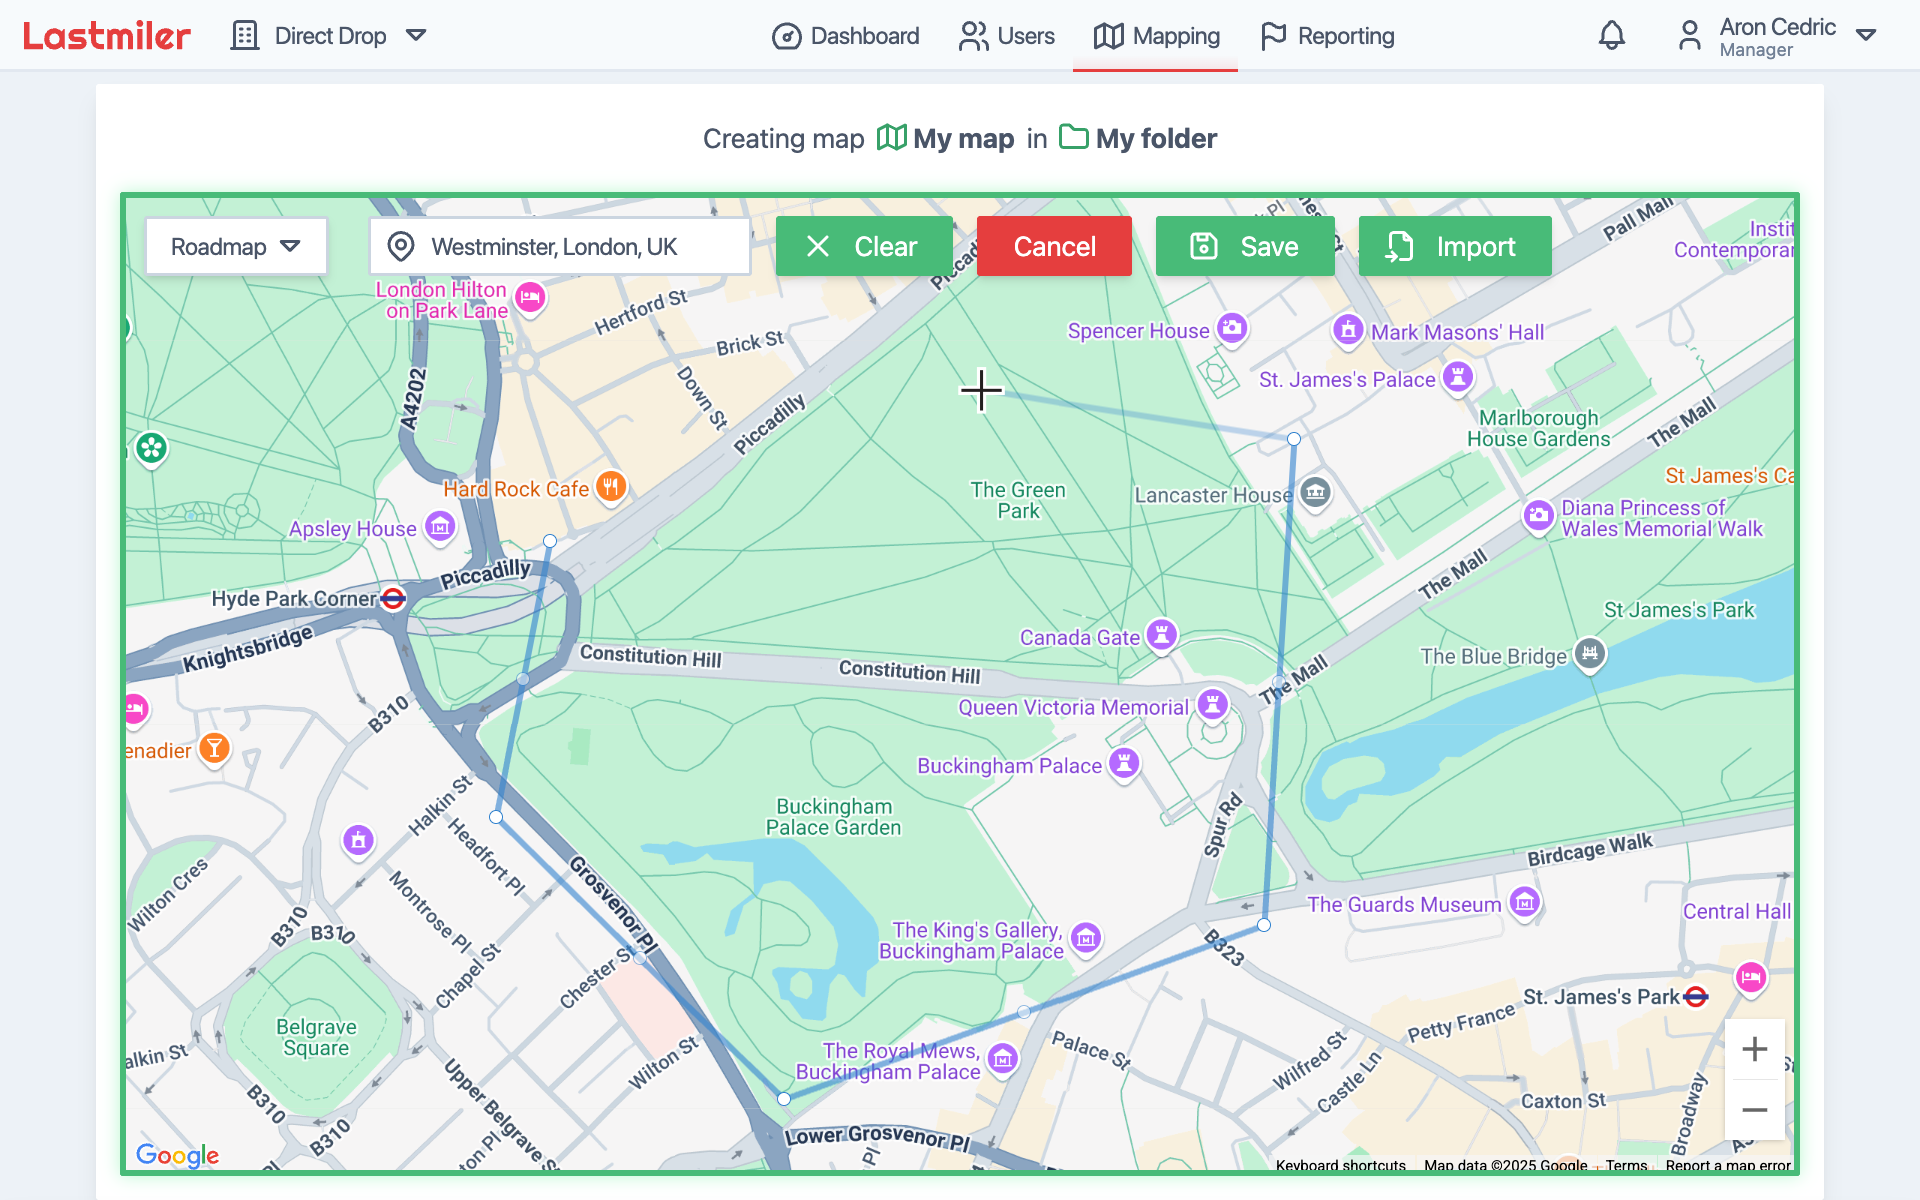
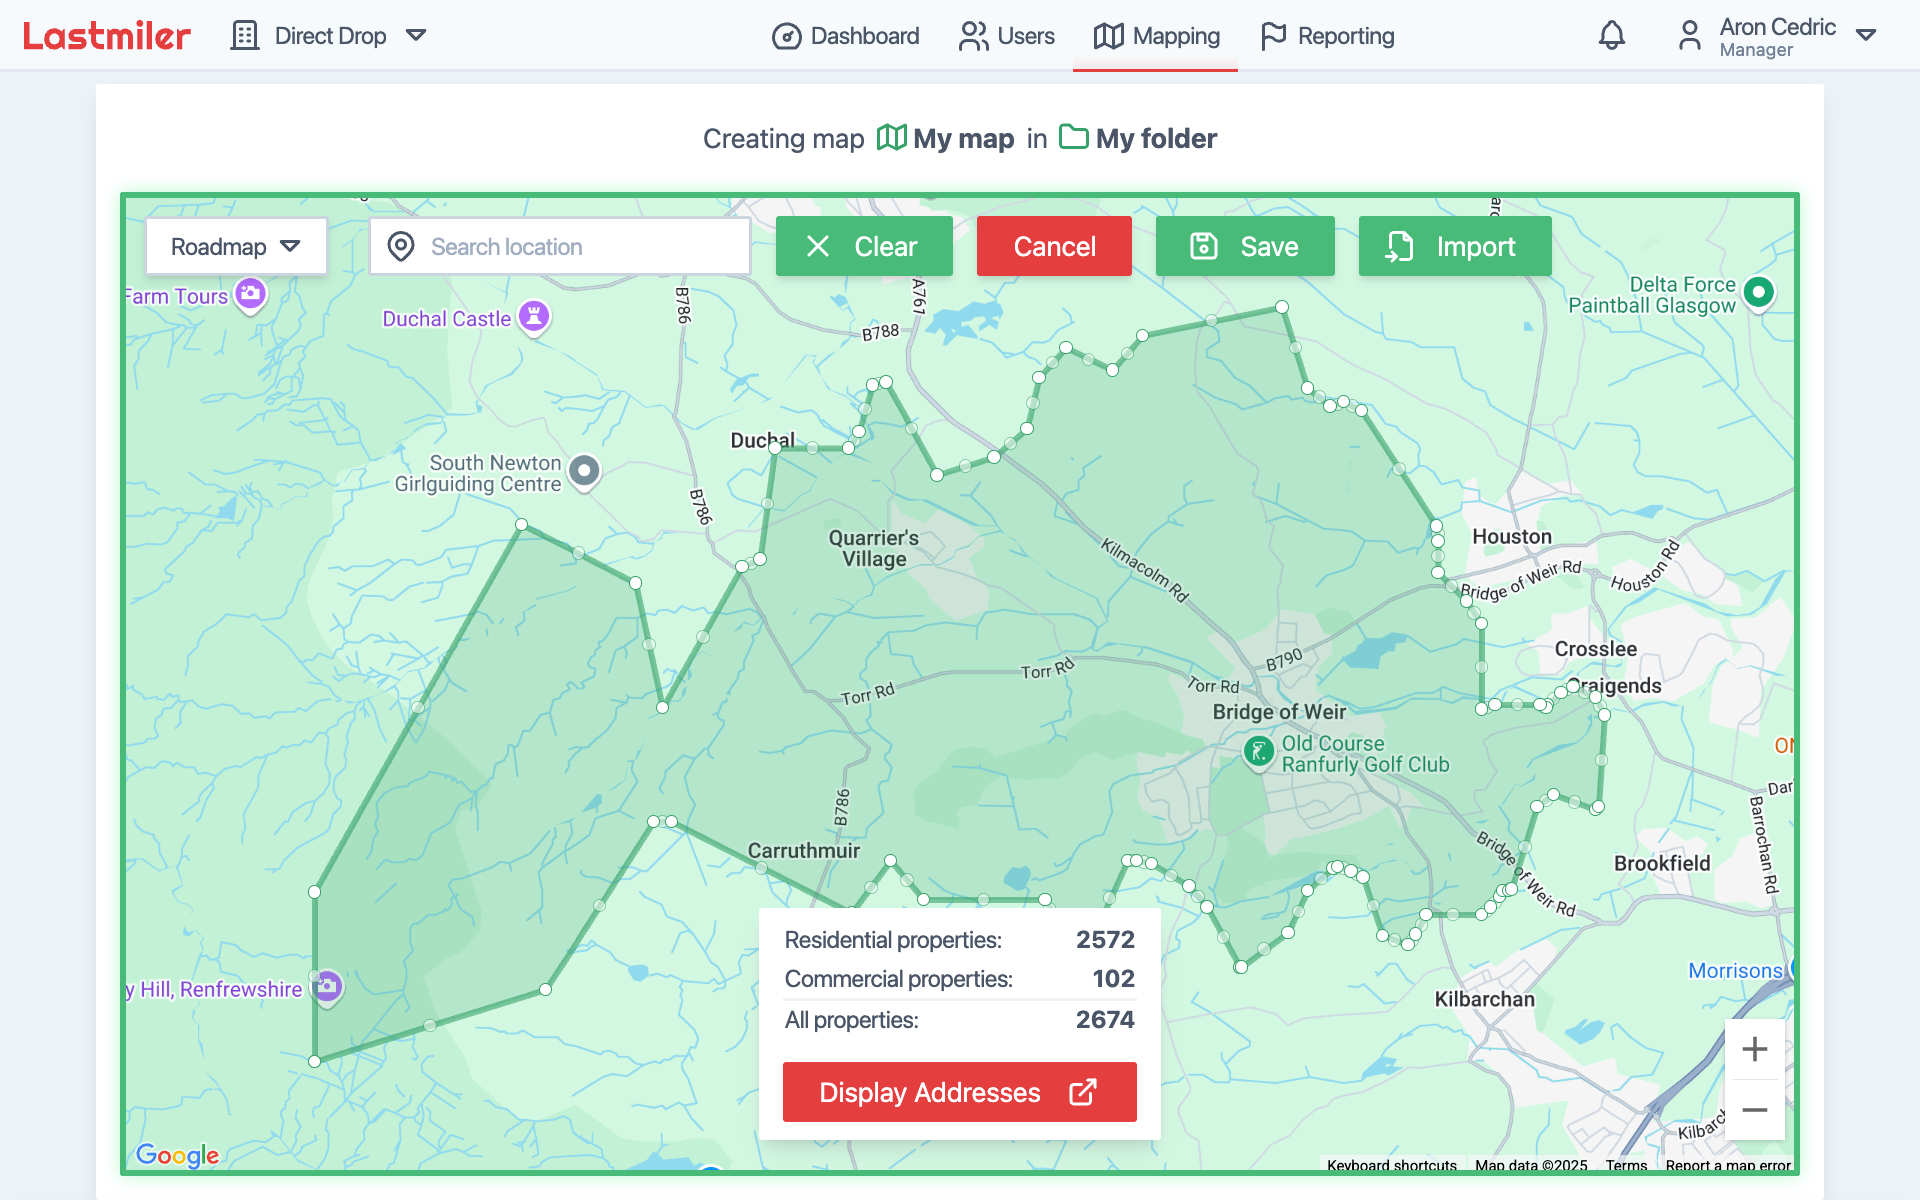
Drawing a Map Shape
Click on the map to begin drawing your shape.
-
To complete the shape, click the first point again or double-click anywhere.
-
Click a point to remove it, or drag to adjust.
-
When complete, the commercial, residential, and total property count will be displayed.
-
To cancel the drawing, click "Cancel".
-
To clear the shape and start over, click "Clear".
-
To save the shape, click "Save". The shape will be saved in the selected folder.
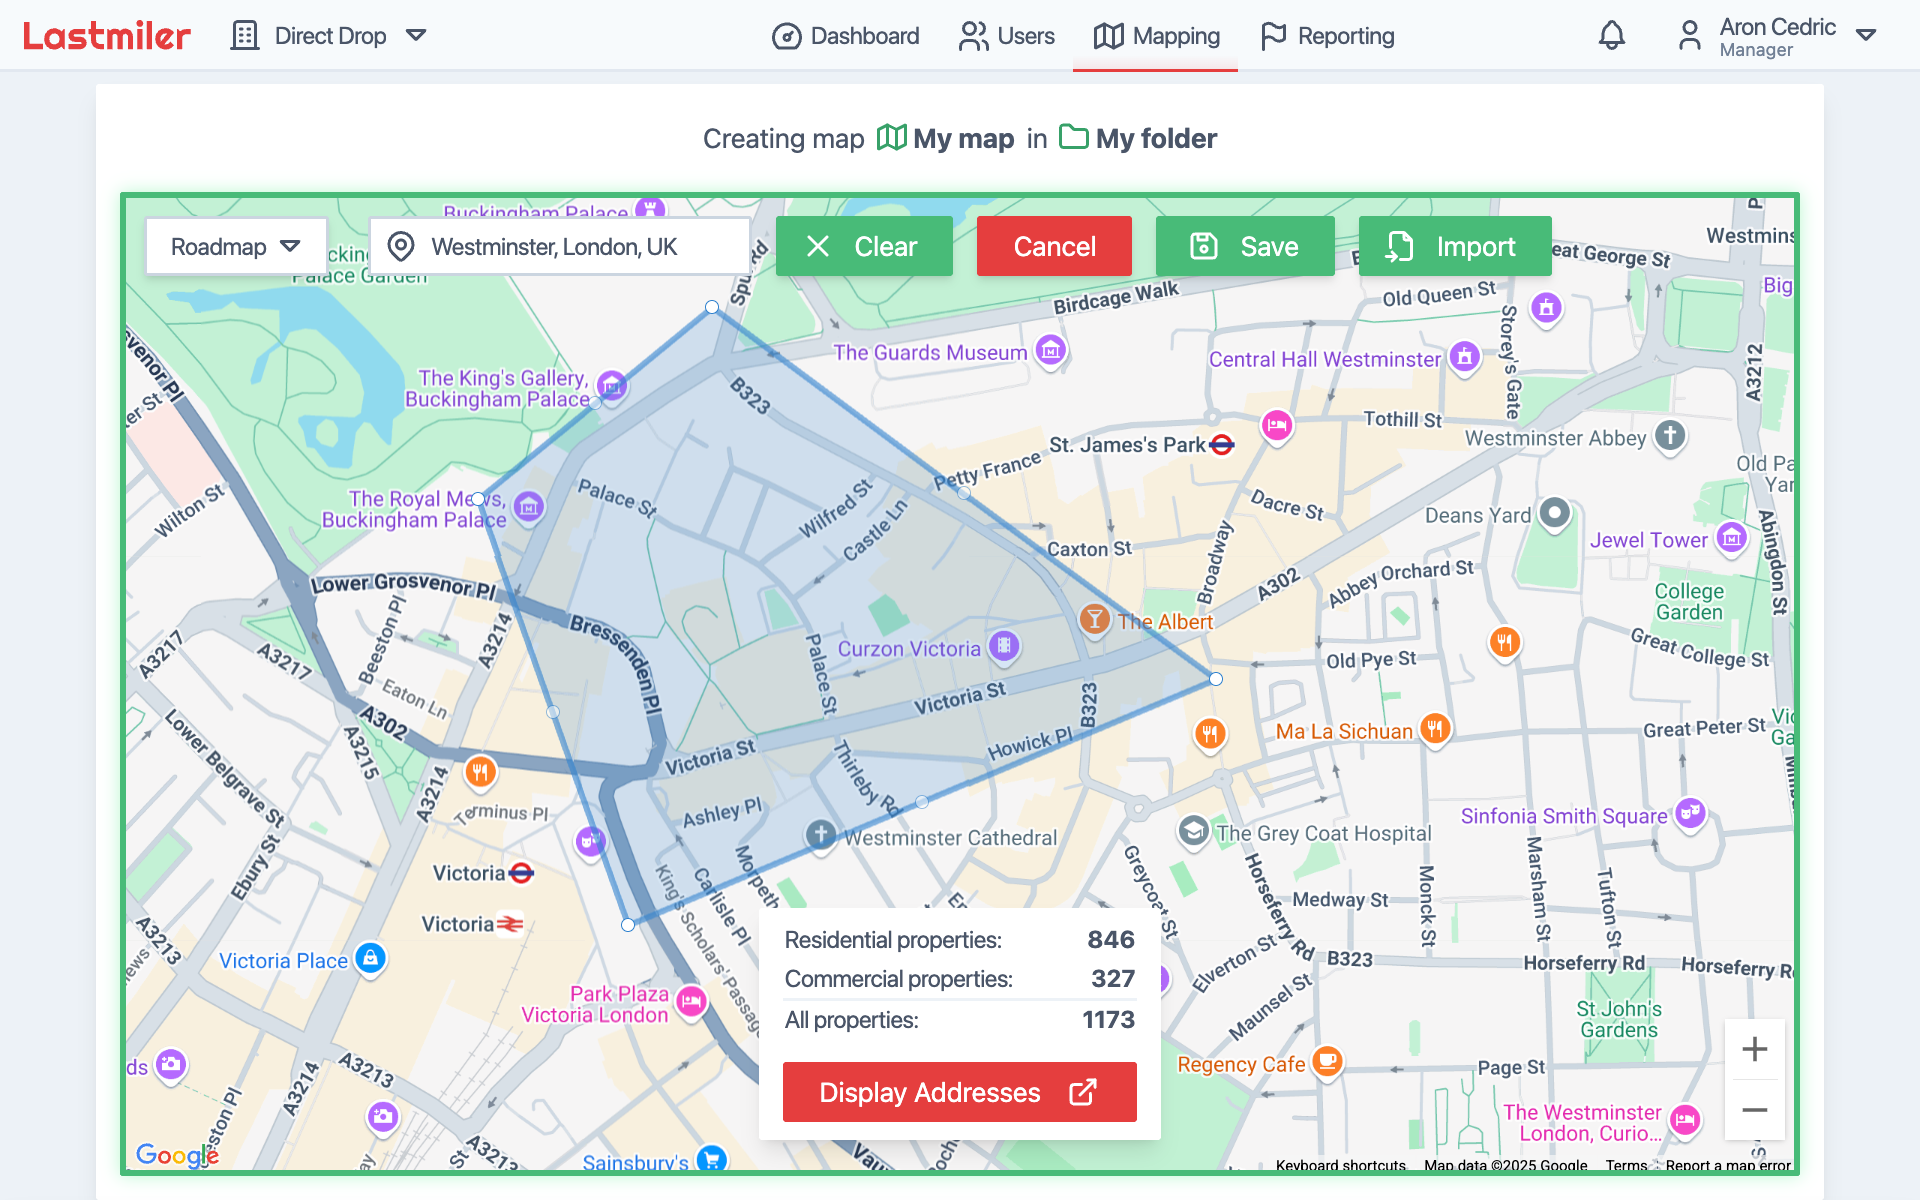
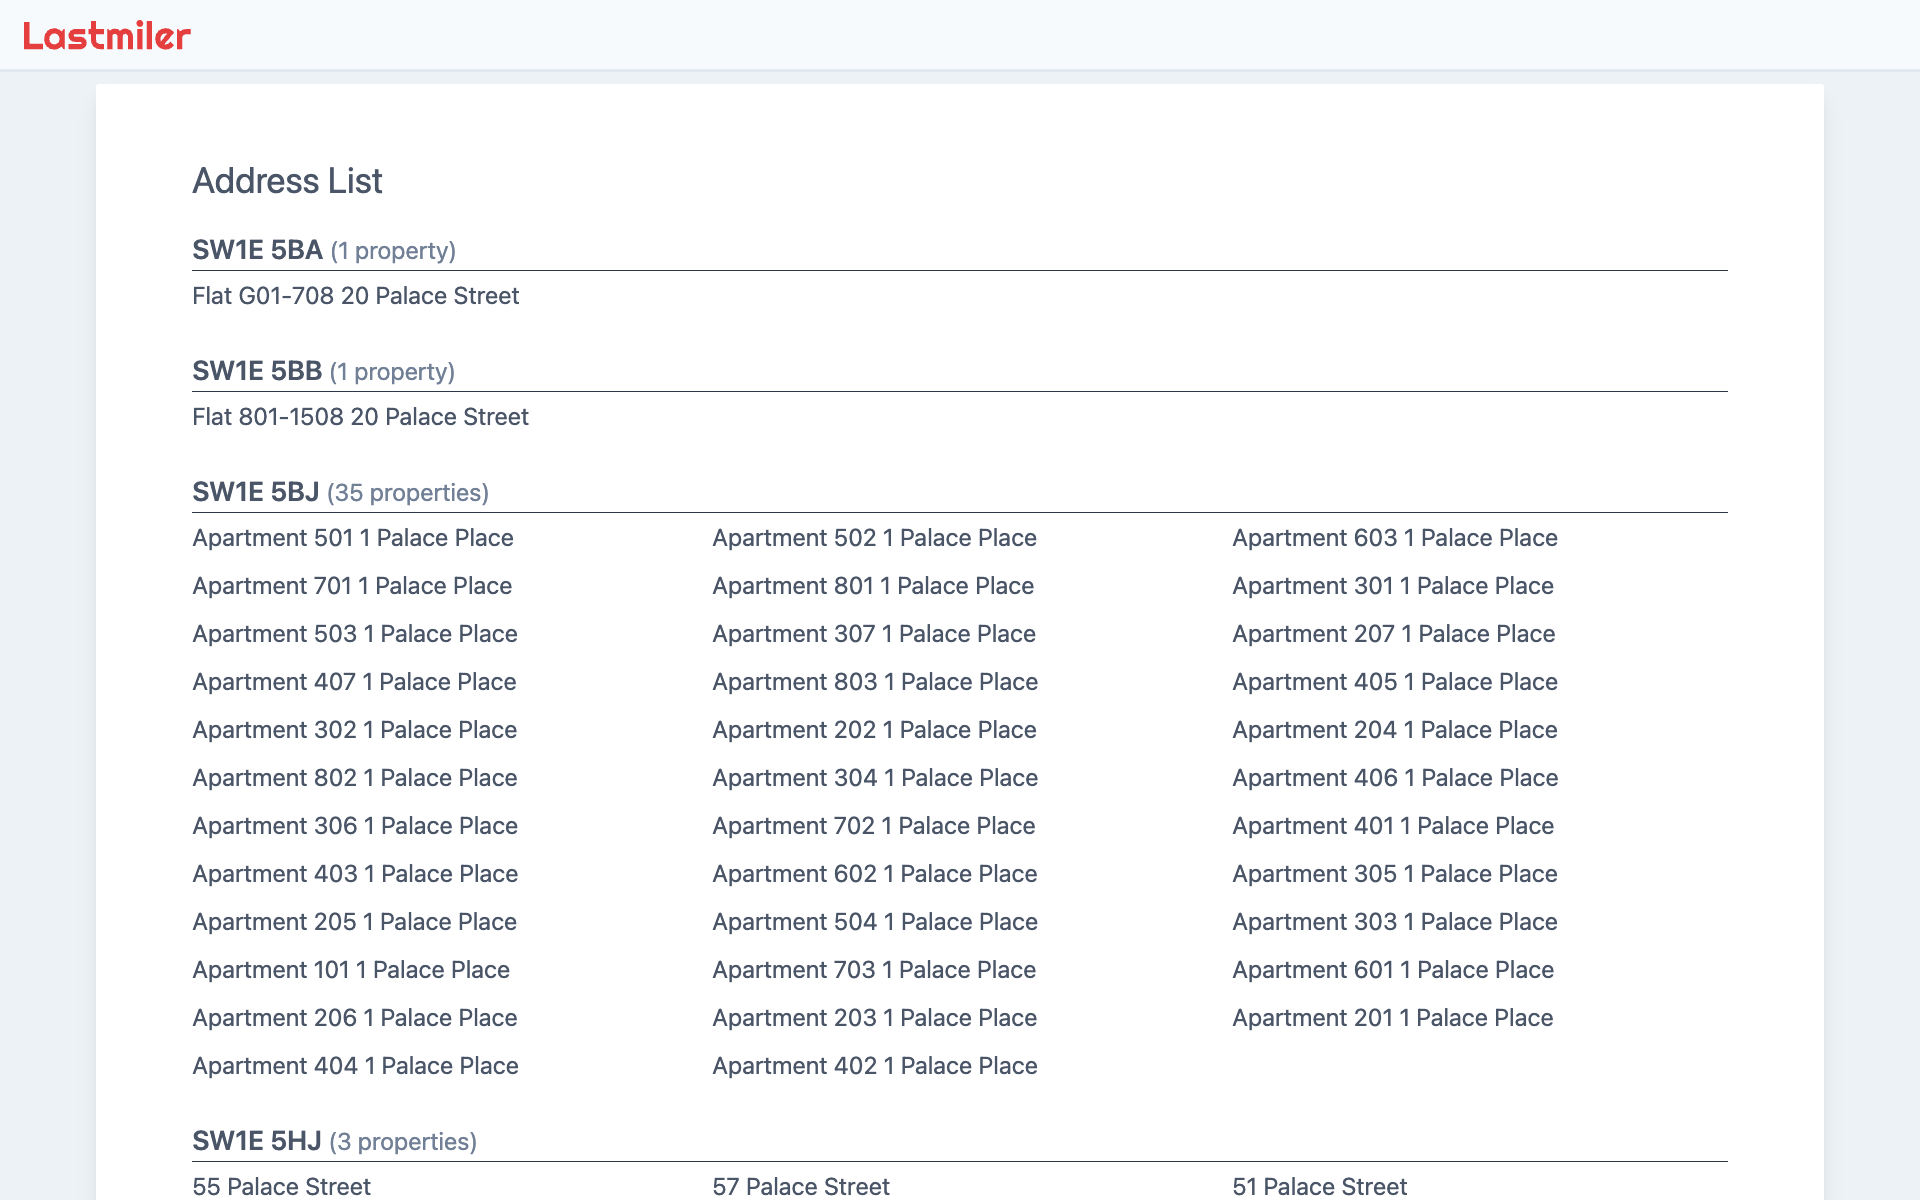
Viewing Map Addresses
To view addresses inside a map shape:
- Click the "Display Addresses" button below the property count.
A new browser tab will open with a list of addresses.
Importing Postcode Sectors
To create a map based on postal codes:
- Click the "Import" button at the top of the map to open the postcode selector.
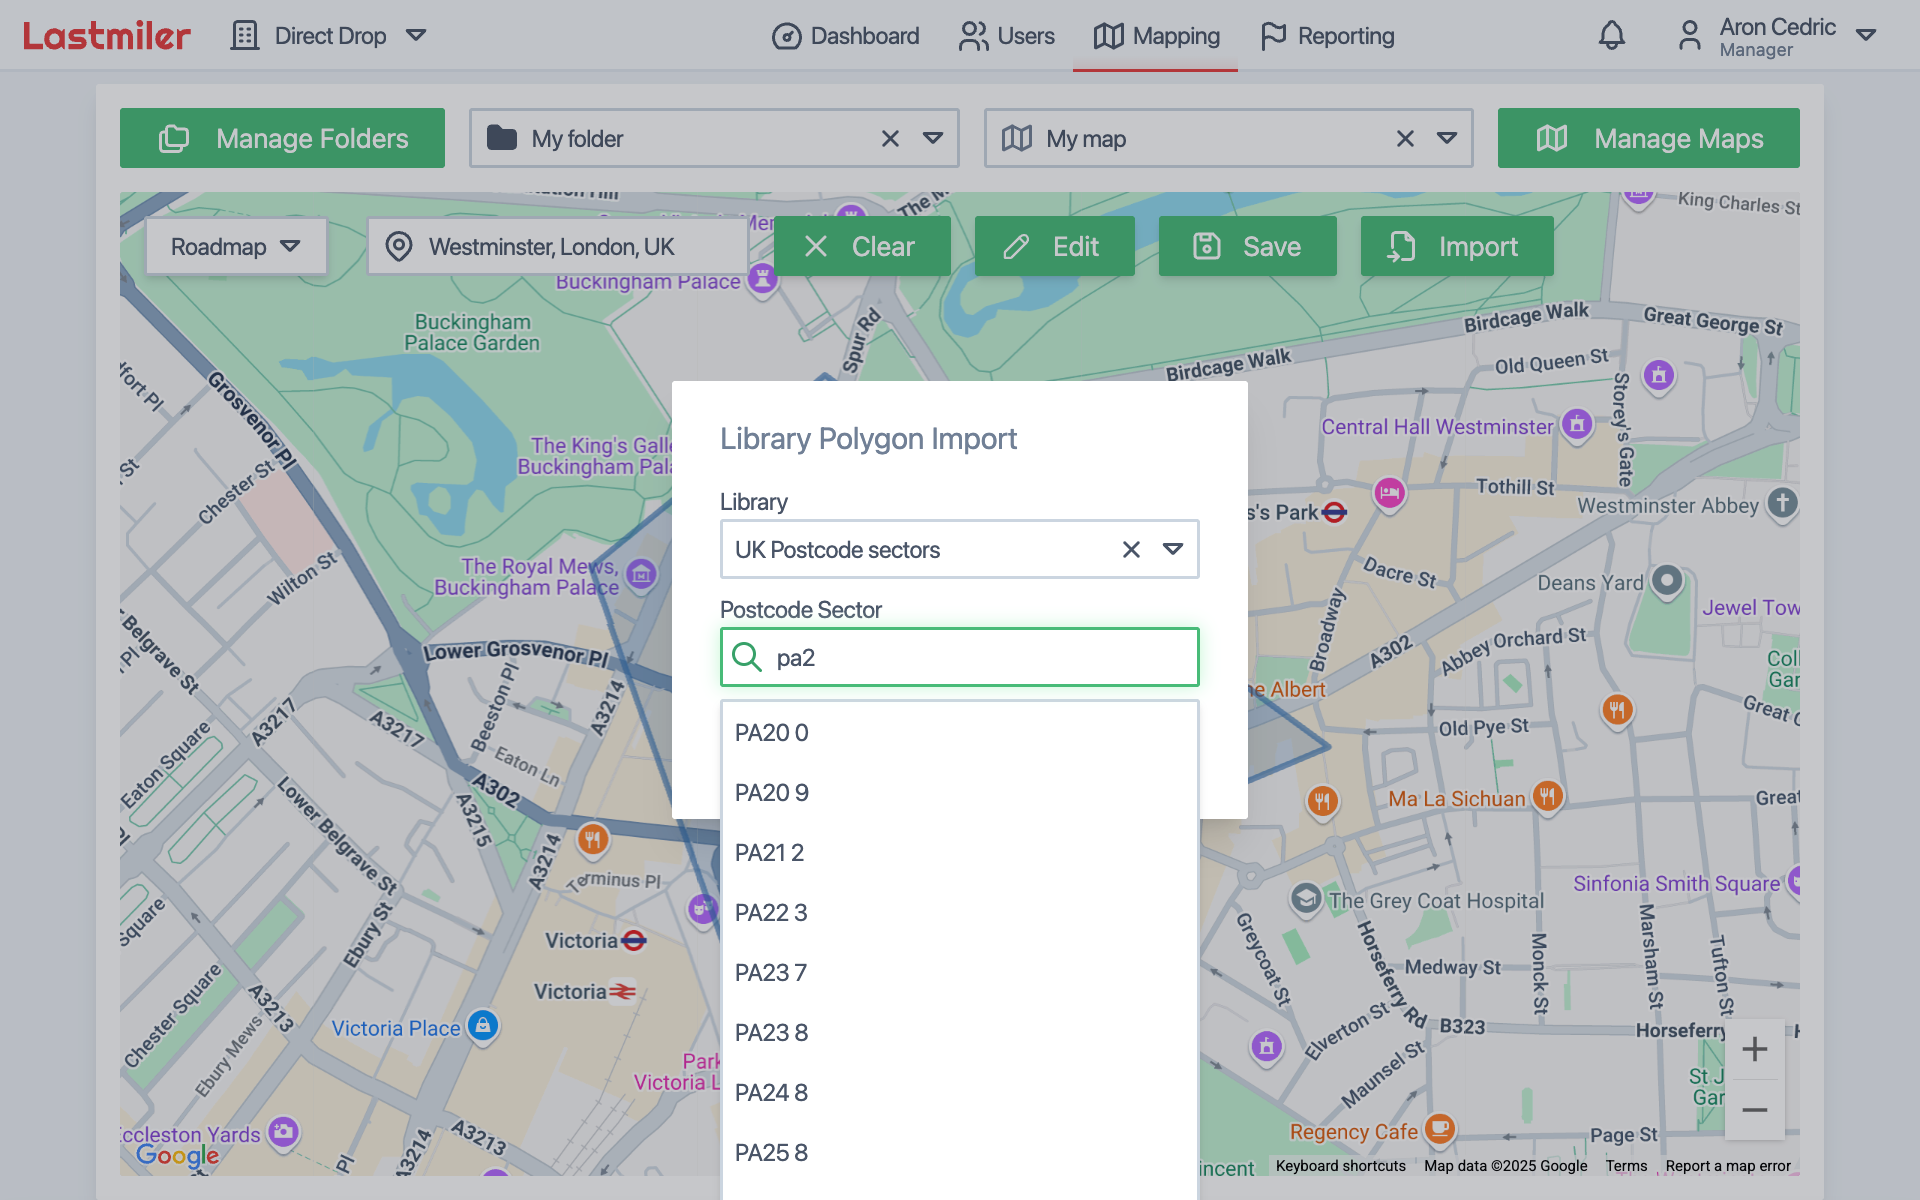
- Choose the desired library from the "Library" dropdown.
- In the "Postcode Sector" field, begin typing the sector code. Matching suggestions will appear.
- Select the correct sector and click "Draw".
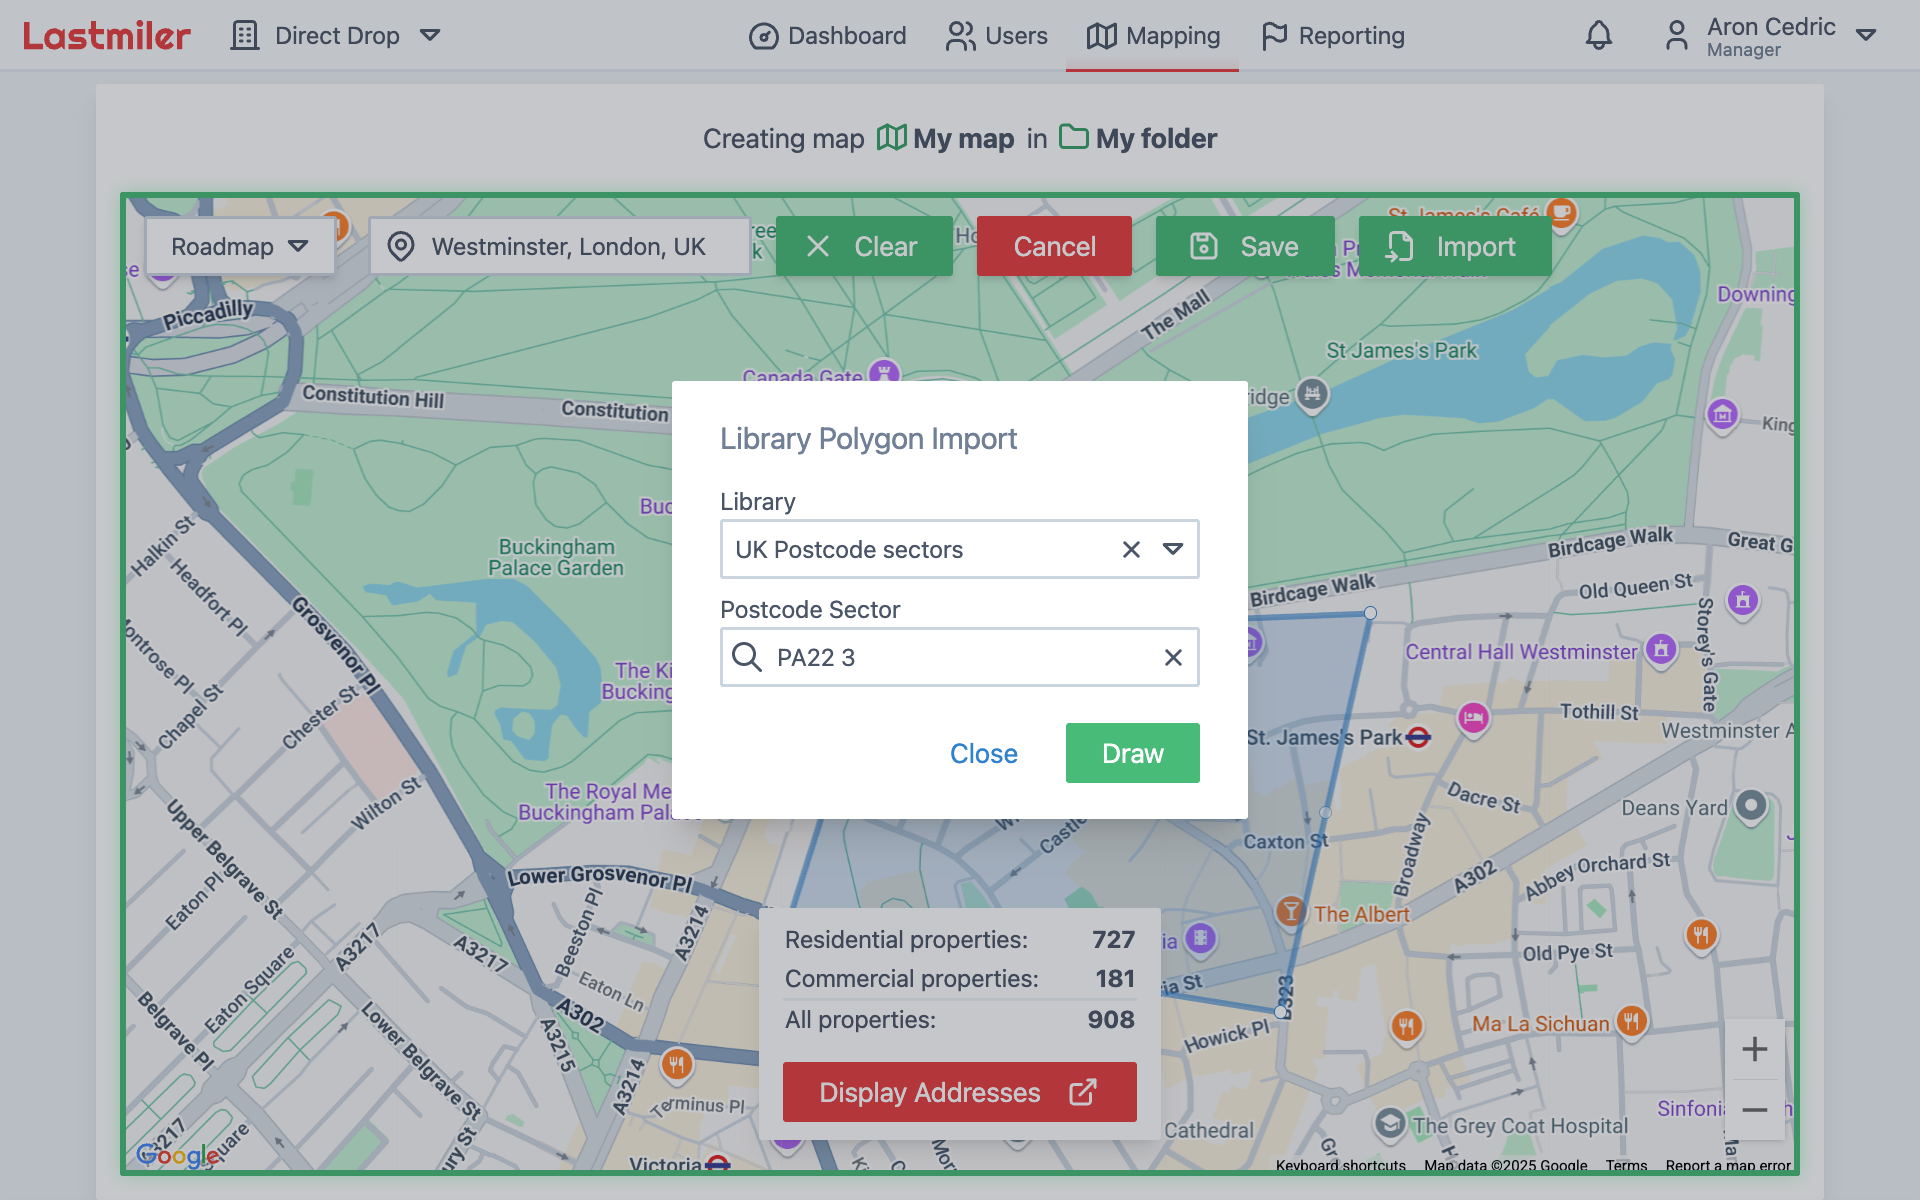
After importing the postcode sector shape, you can edit it as you would any manually drawn map. When you are finished, click "Save" to store the map.